Tips for Adjusting Sliding Door Rollers for Smooth Operation
Adjusting Sliding Door Rollers A Comprehensive Guide
Sliding doors are an integral feature in many homes, providing both functionality and aesthetic appeal. These doors can lead to patios, balconies, or even serve as room dividers. However, over time, the rollers that allow sliding doors to glide smoothly can become misaligned or worn out, resulting in frustrating operation. This guide will walk you through the steps to adjust sliding door rollers, ensuring a seamless opening and closing experience.
Understanding Sliding Door Rollers
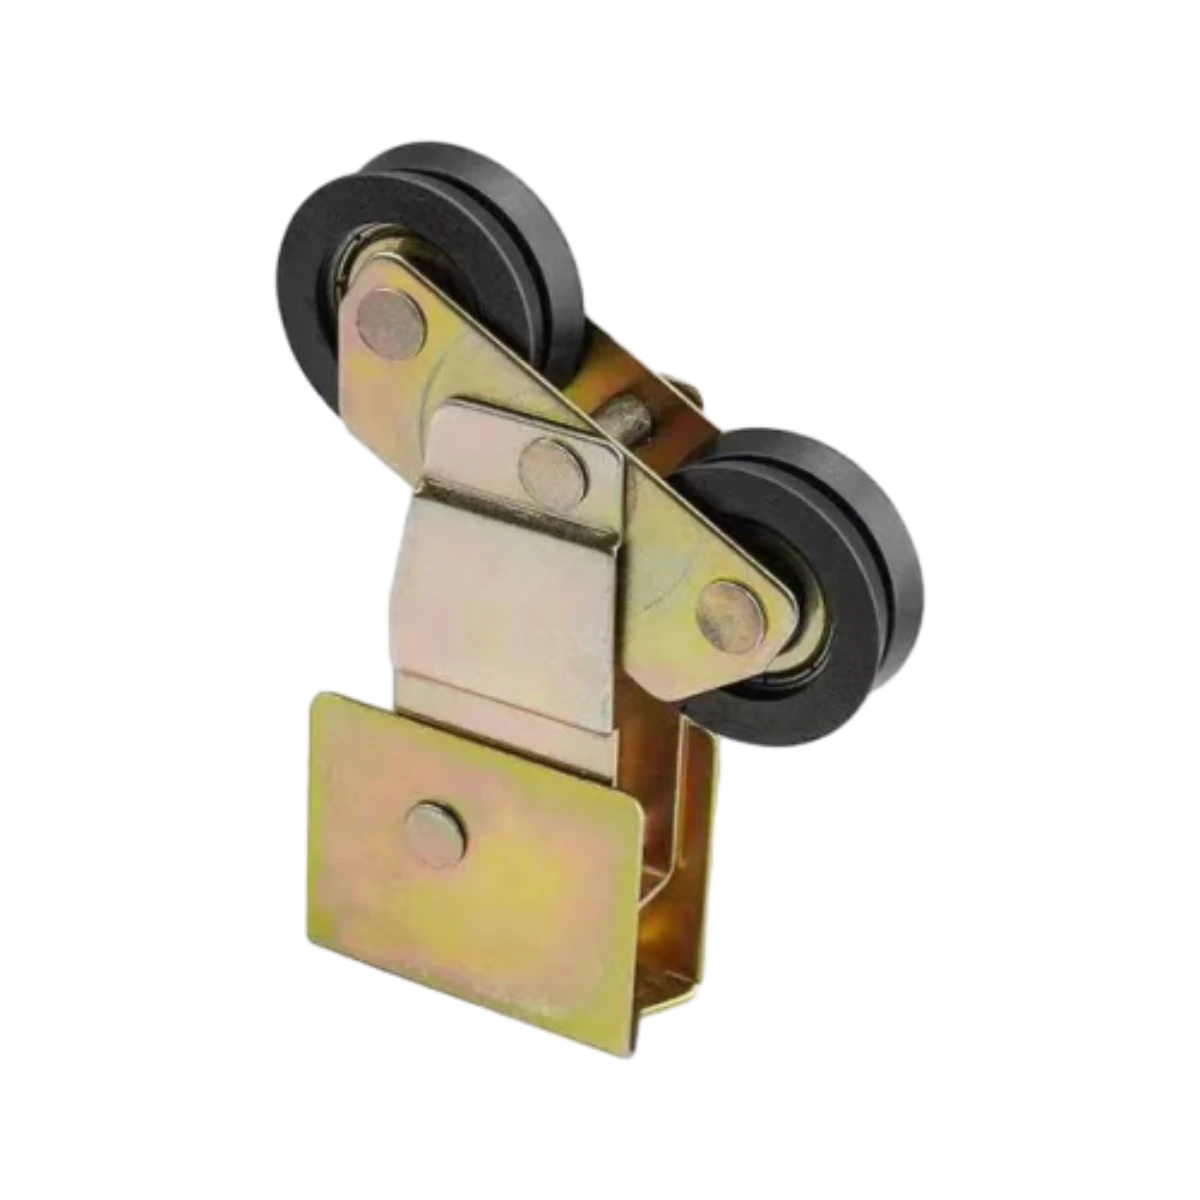
Before diving into the adjustment process, it's important to understand how sliding door rollers work. Most sliding doors operate on a track with wheels, known as rollers, that help the door move back and forth. These rollers are typically located at the bottom of the door, although some doors may have top-mounted rollers as well. Over time, dust, debris, and wear can affect the alignment and performance of these rollers.
Tools You Will Need
To adjust your sliding door rollers, gather the following tools
1. Screwdriver A flat-head or Phillips screwdriver depending on the screws used in your door. 2. Adjustable Wrench Useful for loosening or tightening the roller mechanisms. 3. Vacuum Cleaner To clean the tracks and rollers. 4. Lubricant A silicone-based lubricant for smooth operation. 5. Ruler or Measuring Tape To check the height and alignment.
Step-by-Step Adjustment Process
1. Inspect the Door Begin by visually inspecting your sliding door. Check for any obvious signs of misalignment, such as one end of the door being higher than the other, as this is often the root cause of difficult operation.
2. Clear the Track Before making any adjustments, clean the track where the rollers sit. Use a vacuum to remove dirt, dust, or debris that might obstruct the rollers. A clean track can significantly improve the door’s functionality.
adjusting sliding doors roller
3. Remove the Door (if necessary) In some cases, it may be easier to adjust the rollers with the door out of its frame. To do this, lift the door straight up and out of the track, placing it on a soft surface to prevent damage.
4. Locate the Rollers Once the door is removed or if you're adjusting it while it’s still in place, locate the rollers. They are usually found at the bottom of the door. You may need to remove a protective cover or panel to access them.
5. Adjust the Rollers Most sliding doors feature an adjustment screw for the rollers. Use your screwdriver to turn the screw - Clockwise will generally raise the roller, lifting the door. - Counterclockwise will lower it. Use your ruler to ensure both ends of the door are level, making fine adjustments as necessary.
6. Test the Door After adjusting the rollers, push the door along the track to check for smooth operation. It should glide easily without dragging or sticking. If it still feels rough, you may need to make further adjustments.
7. Lubricate the Rollers Once you're satisfied with the alignment, apply a silicone-based lubricant to the rollers and tracks. This will reduce friction and enhance performance, giving your sliding door a longer lifespan.
8. Reinstall the Door If you removed the door, carefully lift it back onto the track, ensuring that the rollers sit properly in the track below.
9. Final Checks After reinstallation, perform a final operational check. Open and close the door several times to confirm that it moves freely and is secured snugly against the jamb.
Conclusion
Adjusting sliding door rollers can significantly enhance the functionality of your sliding doors, allowing for smooth opening and closing. By following this guide, you can maintain your doors easily and extend their service life. Regular maintenance is key, so consider making this adjustment part of your seasonal home upkeep routine. If you encounter persistent issues, it may be time to consult a professional for further assistance. With proper care, your sliding doors will continue to serve as delightful transitions between spaces in your home.
-
Why Choose TJJ as Your Window and Door Hardware Manufacturer?NewsOct.28,2024
-
The Advantages of Cast Iron Stove Plates: A Timeless Choice for Your KitchenNewsOct.28,2024
-
Aluminium Windows Profiles: Benefits and FeaturesNewsOct.28,2024
-
Innovations in Cast Iron Panel TechnologyNewsOct.28,2024
-
The Benefits of Customizing Your Wrought Iron Fence PartsNewsOct.28,2024
-
The Immortal Legacy of Cast Iron Spears: From War to Decorative UseNewsOct.21,2024
-
 Why Choose TJJ as Your Window and Door Hardware Manufacturer?Oct-28-2024Why Choose TJJ as Your Window and Door Hardware Manufacturer?
 -
 The Advantages of Cast Iron Stove Plates: A Timeless Choice for Your KitchenOct-28-2024The Advantages of Cast Iron Stove Plates: A Timeless Choice for Your Kitchen
 -
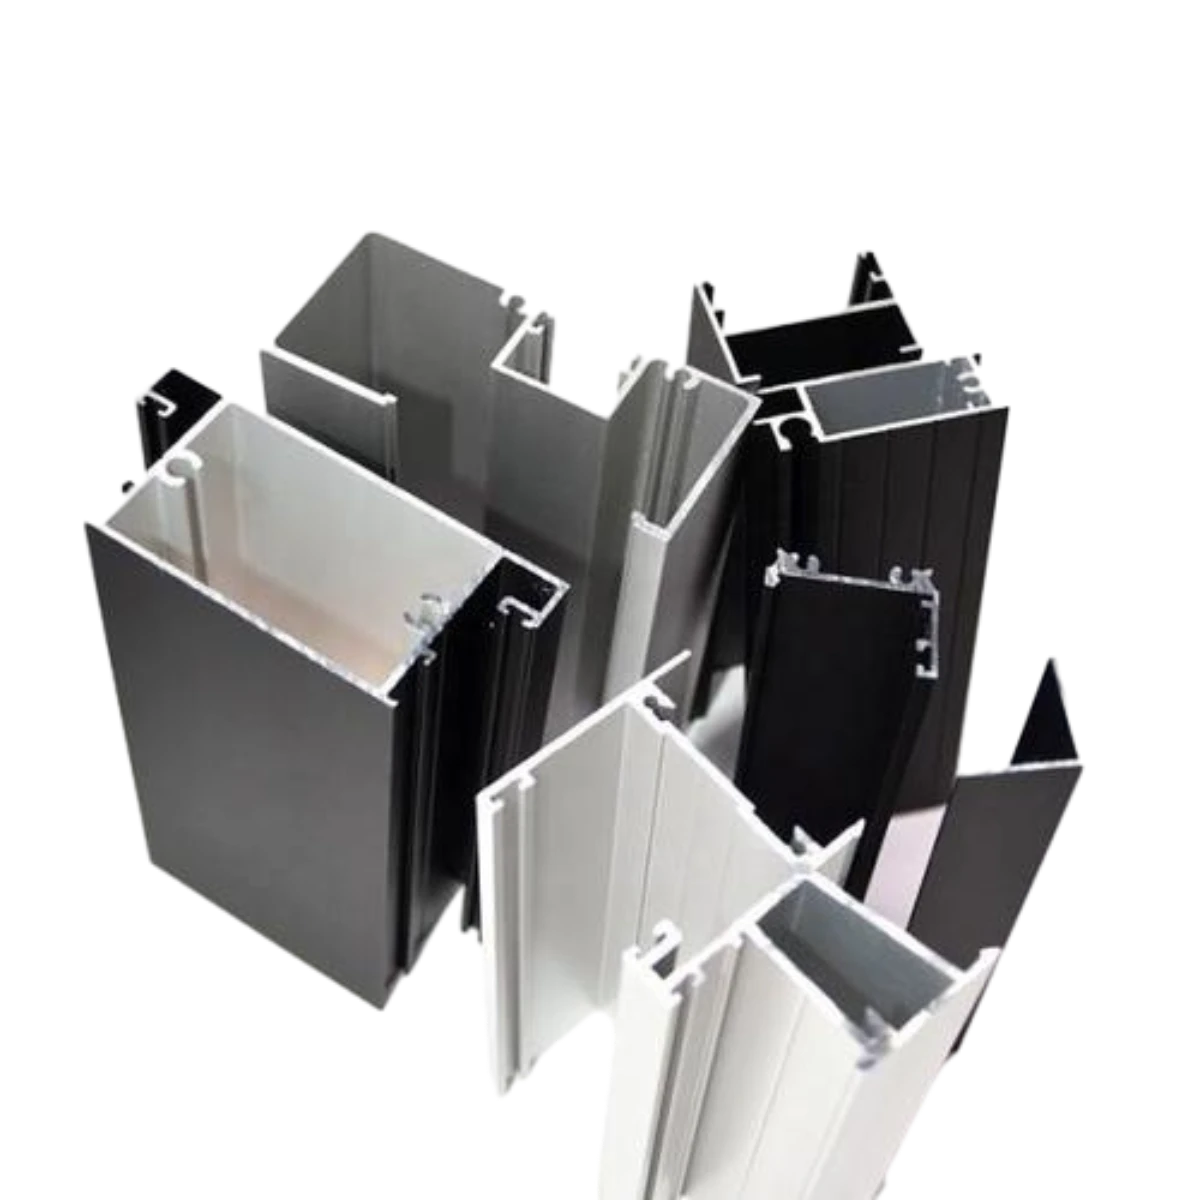 Aluminium Windows Profiles: Benefits and FeaturesOct-28-2024Aluminium Windows Profiles: Benefits and Features


