How to Replace Rollers on a Sliding Door for Smooth Operation
Changing Rollers on a Sliding Door A Step-by-Step Guide
Sliding doors are a popular choice in many homes and commercial spaces due to their convenience and space-saving design. However, over time, the rollers on these doors can wear out or become damaged, leading to difficulty in opening or closing the door. If you’re facing this issue, don’t worry! Changing the rollers on a sliding door is a manageable DIY task that can restore its functionality without the need for professional assistance. This article will guide you through the process.
Understanding the Role of Rollers
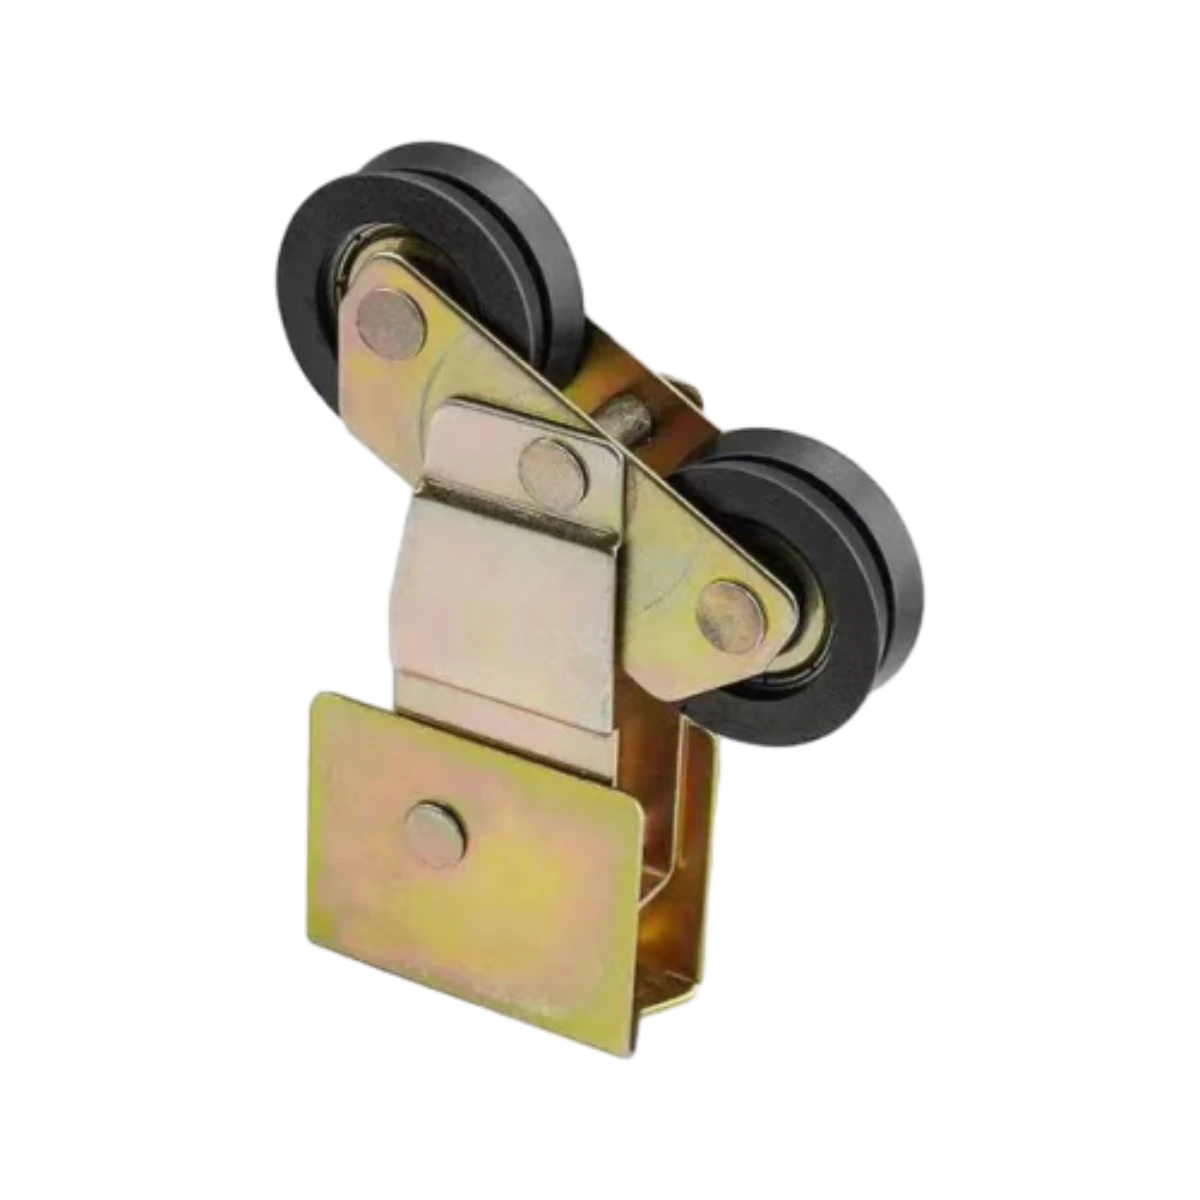
Rollers are essential components of sliding doors. They allow the door to glide smoothly along the track. Over time, debris, dirt, and general wear and tear can cause these rollers to malfunction. Symptoms of failing rollers include sticking, unusual noise, or the door coming off its track.
Pre-Requisite Tools and Materials
Before you begin, ensure you have the following tools and materials handy
1. Replacement rollers Check the door brand and model to find compatible rollers. 2. Screwdriver Usually a flathead or Phillips screwdriver, depending on the screws on your door. 3. Pliers Helpful for removing or adjusting hardware. 4. Level To ensure the door hangs evenly once reinstalled. 5. Grease For lubrication, ensuring smooth operation after installation. 6. Vacuum cleaner To clean the track and surrounding areas.
Step-by-Step Guide to Changing Rollers
Step 1 Remove the Door
1. Lift and Tilt Start by tilting the bottom of the sliding door towards you to lift it slightly off the bottom track. You may need a friend to assist you with this step, especially for heavier doors. 2. Remove from Track Once tilted, carefully maneuver the door out of the top track. Ensure you have a clear space to set it down safely.
changing rollers on sliding door
Step 2 Inspect the Rollers
1. Examine the Old Rollers Check the condition of the current rollers. Are they damaged or simply dirty? This will confirm if replacement is necessary. 2. Clean the Track Use your vacuum cleaner to clear out dust and debris from the track. A clean track will enhance the performance of the new rollers.
Step 3 Replace the Rollers
1. Remove Old Rollers Depending on the design, either unscrew the rollers from the door or simply slide them out. Remember the orientation; take a picture if necessary for reference. 2. Install New Rollers Insert the new rollers in the reverse order of how you removed the old ones. Make sure they fit snugly and securely, ensuring the door's weight is properly supported.
Step 4 Re-install the Door
1. Lift the Door With the new rollers attached, lift the door back into the top track while angling the bottom towards you. 2. Slide it into Place Adjust the door until it sits evenly in both the top and bottom tracks. 3. Secure It If applicable, tighten any screws or fasteners on the rollers to ensure they are firmly in place.
Step 5 Test and Adjust
1. Test the Door Open and close the door several times to ensure it operates smoothly. Listen for any unusual sounds and check if it glides effortlessly. 2. Adjust as Necessary If there are issues, you may need to adjust the height of the rollers. Most rollers have an adjustment mechanism allowing you to fine-tune the fitting.
Conclusion
Changing the rollers on a sliding door can seem daunting, but with the right tools and steps, it is a straightforward process that can be completed in an afternoon. Regular maintenance, including cleaning the track and lubricating the rollers, can prolong the life of your sliding door. If after attempting this repair you still experience issues, it may be time to consult a professional for further evaluation. By taking the initiative, you not only save on repair costs but also gain a sense of accomplishment in enhancing the functionality of your home. Happy sliding!
-
Why Choose TJJ as Your Window and Door Hardware Manufacturer?NewsOct.28,2024
-
The Advantages of Cast Iron Stove Plates: A Timeless Choice for Your KitchenNewsOct.28,2024
-
Aluminium Windows Profiles: Benefits and FeaturesNewsOct.28,2024
-
Innovations in Cast Iron Panel TechnologyNewsOct.28,2024
-
The Benefits of Customizing Your Wrought Iron Fence PartsNewsOct.28,2024
-
The Immortal Legacy of Cast Iron Spears: From War to Decorative UseNewsOct.21,2024
-
 Why Choose TJJ as Your Window and Door Hardware Manufacturer?Oct-28-2024Why Choose TJJ as Your Window and Door Hardware Manufacturer?
 -
 The Advantages of Cast Iron Stove Plates: A Timeless Choice for Your KitchenOct-28-2024The Advantages of Cast Iron Stove Plates: A Timeless Choice for Your Kitchen
 -
 Aluminium Windows Profiles: Benefits and FeaturesOct-28-2024Aluminium Windows Profiles: Benefits and Features


