How to Replace and Adjust Sliding Door Rollers Effectively and Easily
Changing Sliding Door Rollers A Step-by-Step Guide
Sliding doors are a popular feature in many homes, providing convenience, easy access, and a seamless transition between indoor and outdoor spaces. However, like any other part of your home, sliding door rollers can wear out over time, leading to problems such as difficulty in opening or closing the door, misalignment, or even jamming. This article will guide you through the process of changing sliding door rollers, ensuring your door operates smoothly once again.
Tools and Materials Needed
Before starting the replacement process, gather the necessary tools and materials. You will need
- A screwdriver (flathead and Phillips) - Pliers - Replacement rollers - A vacuum or broom (to clean the track) - Lubricant (silicone spray or WD-40) - Safety goggles and gloves (optional)
Step 1 Assess the Situation
Before you proceed with replacing the rollers, inspect your sliding door to confirm that the rollers are indeed the source of the issue. Open and close the door a few times, listen for unusual noises, and check if the door aligns properly within the frame.
Step 2 Remove the Sliding Door
To access the rollers, the sliding door must be removed. First, locate the screws securing the door track and remove them. Once the screws are taken out, lift the door upwards to clear the track and gently tilt it toward you to remove it completely. Be cautious during this step, as sliding doors can be heavy and awkward to maneuver.
Step 3 Remove the Old Rollers
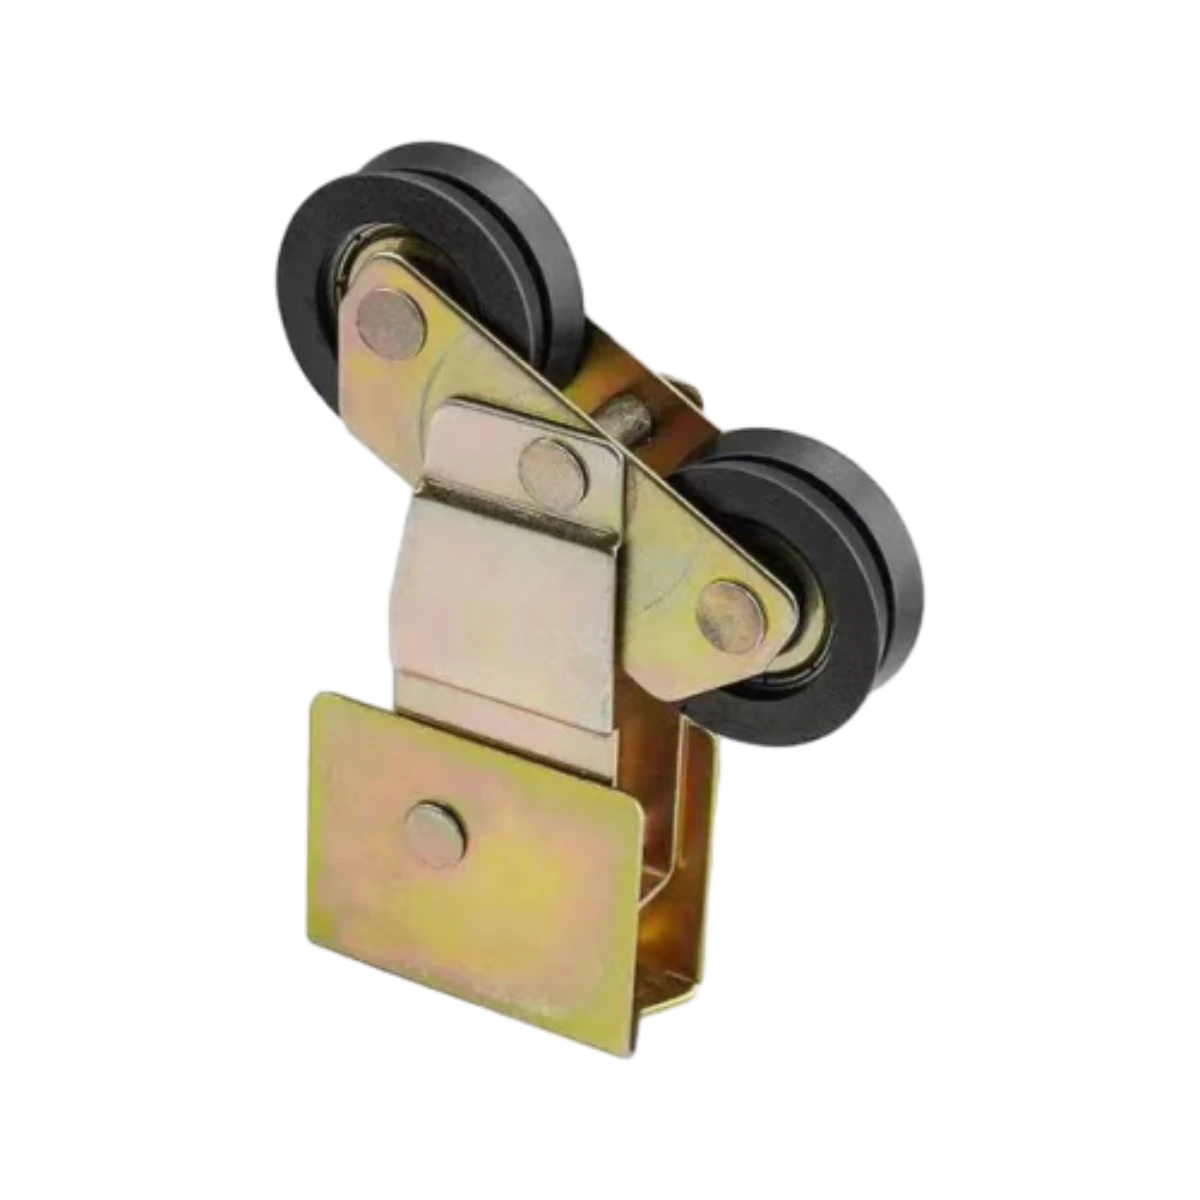
With the door removed, you can now access the rollers. Depending on your door’s design, you may find the rollers at the bottom of the door. Use the screwdriver to remove any screws holding the rollers in place. Once the screws are removed, take out the old rollers carefully. If they are stuck, a little wiggling may help.
changing sliding door rollers

Step 4 Clean the Track
Before installing the new rollers, take this opportunity to thoroughly clean the door track. Use a vacuum or broom to remove any dirt, dust, or debris that might hinder the smooth operation of the rollers. You may also want to apply lubricant along the track, which will enhance the performance of the new rollers.
Step 5 Install the New Rollers
Now it’s time to install the new rollers. Position each roller in its designated spot at the bottom of the door, ensuring they align correctly with the holes. Secure them in place by tightening the screws. Make sure not to overtighten, as this could damage the rollers or the door.
Step 6 Rehang the Sliding Door
With the new rollers in place, carefully lift the sliding door back onto the track. Start by tilting the door towards you at an angle and sliding the top part onto the track first. Once the top is securely in place, lower the bottom of the door onto the track and push it into position. Reinsert any screws removed from the track and ensure they are tightened adequately.
Step 7 Test the Door
Once reinstalled, open and close the sliding door several times to check for smooth operation. Listen for any unusual noises and ensure that the door remains aligned within the frame. If there are any issues, you might need to adjust the roller height using the adjustment screws located on the rollers.
Final Thoughts
Changing sliding door rollers is a manageable task that can significantly improve the functionality of your door. Regular maintenance, including cleaning the track and lubricating the rollers, can prolong the life of your sliding door system. By following this step-by-step guide, you can tackle this home improvement project with confidence, ensuring your sliding door slides effortlessly for years to come.
-
Why Choose TJJ as Your Window and Door Hardware Manufacturer?NewsOct.28,2024
-
The Advantages of Cast Iron Stove Plates: A Timeless Choice for Your KitchenNewsOct.28,2024
-
Aluminium Windows Profiles: Benefits and FeaturesNewsOct.28,2024
-
Innovations in Cast Iron Panel TechnologyNewsOct.28,2024
-
The Benefits of Customizing Your Wrought Iron Fence PartsNewsOct.28,2024
-
The Immortal Legacy of Cast Iron Spears: From War to Decorative UseNewsOct.21,2024
-
 Why Choose TJJ as Your Window and Door Hardware Manufacturer?Oct-28-2024Why Choose TJJ as Your Window and Door Hardware Manufacturer?
 -
 The Advantages of Cast Iron Stove Plates: A Timeless Choice for Your KitchenOct-28-2024The Advantages of Cast Iron Stove Plates: A Timeless Choice for Your Kitchen
 -
 Aluminium Windows Profiles: Benefits and FeaturesOct-28-2024Aluminium Windows Profiles: Benefits and Features


