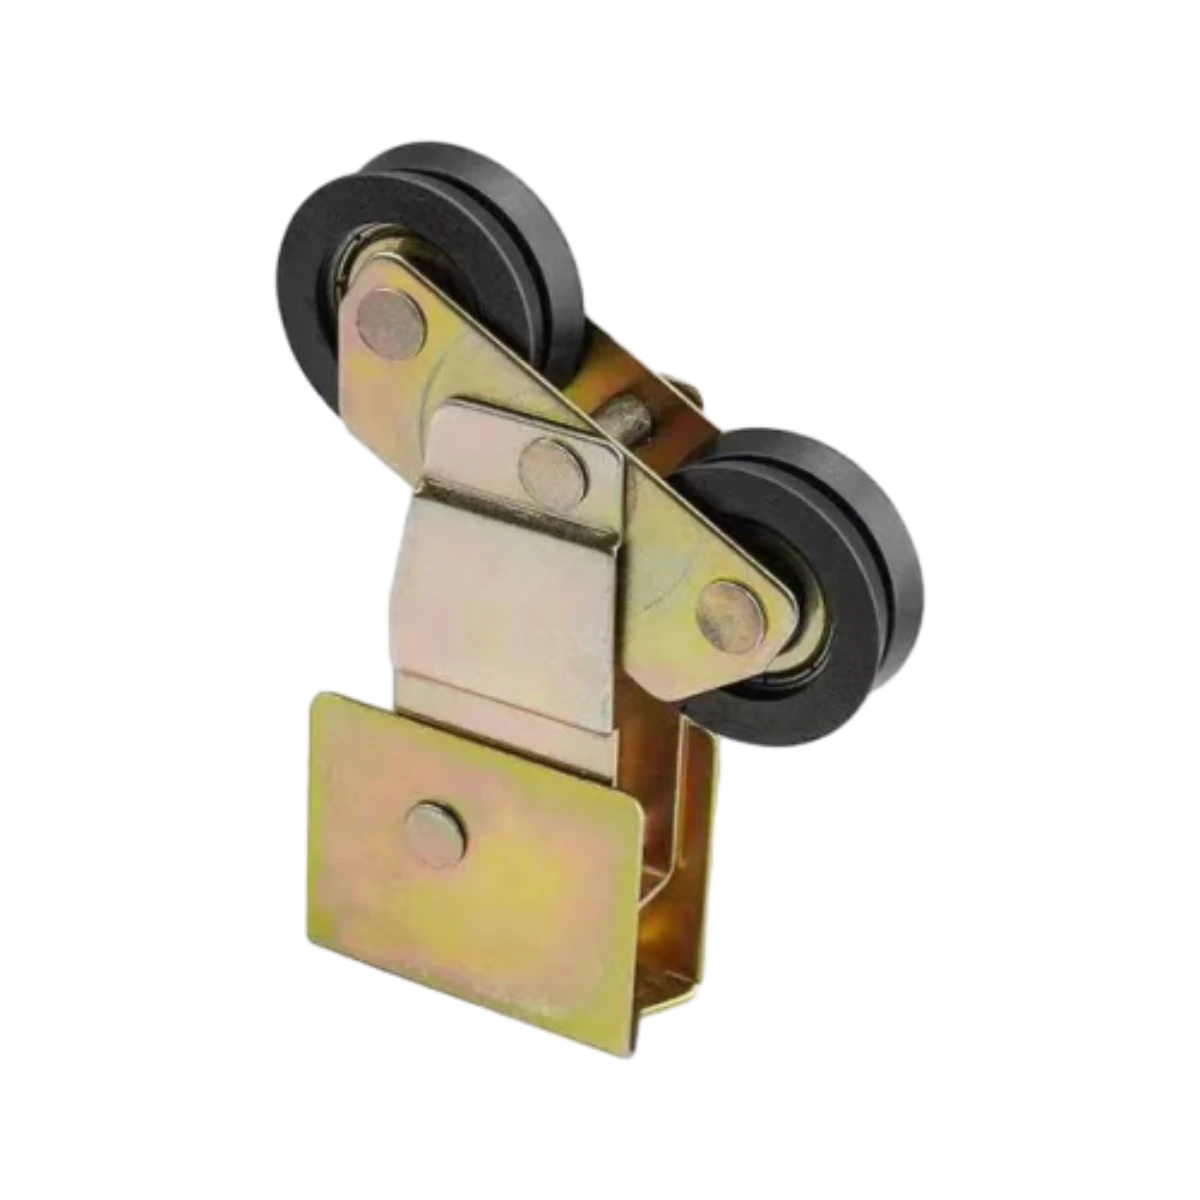
changing sliding door rollers
Changing Sliding Door Rollers A Comprehensive Guide
Sliding doors are a popular choice for homeowners due to their space-saving design and aesthetic appeal. However, over time, the rollers that allow these doors to glide smoothly can wear out, causing frustration and functional issues. If your sliding door is not operating as it should, it might be time to change the rollers. This guide will walk you through the process and provide useful tips to ensure a smooth operation afterward.
Understanding the Need for Roller Replacement
Sliding door rollers can wear out for various reasons. Contaminants such as dirt, dust, or debris can accumulate in the tracks, hindering movement. Excessive weight on the door, environmental factors like humidity or temperature fluctuations, and simply the passage of time can also contribute to roller degradation. Signs that your rollers may need replacement include
- Difficulty in opening or closing the door - Unusual noises, such as grinding or scraping - Visible damage to the rollers or track
Tools and Materials Required
Before starting the replacement process, gather the necessary tools and materials. You will need
- New sliding door rollers (ensure they match your door's specifications) - Screwdriver (flathead and Phillips) - Pliers - Vacuum cleaner (for cleaning the track) - Lubricant (silicone spray or similar) - Safety goggles and gloves (for protection)
Step-by-Step Guide to Changing Sliding Door Rollers
1. Remove the Door The first step is to remove the sliding door from its track. To do this, lift the door slightly to disengage it from the bottom track, then tilt the top towards you and slide it out. This may require assistance, depending on the door's size and weight.
2. Inspect the Rollers and Track Once the door is removed, inspect the current rollers and tracks. Look for signs of wear, damage, or obstruction. Use a vacuum cleaner to remove any dust or debris from the track.
changing sliding door rollers

3. Remove Old Rollers Depending on your door design, you may need to unscrew or unclip the rollers from the bottom of the door. Use the appropriate screwdriver to remove any screws, and gently pull the old rollers out.
4. Install New Rollers Take your new rollers and insert them into the same slots as the old ones. Ensure they fit snugly and are correctly aligned. If your rollers have adjustable features, slightly elevate them to allow for easy movement before tightening them into place.
5. Lubricate the Track Before reattaching the door, apply a silicone lubricant to the track. This will help reduce friction and ensure smooth operation once the door is back in place.
6. Reattach the Door With the new rollers securely in place and the track lubricated, it’s time to reattach the sliding door. Align the top edge of the door with the top track first, then tilt the bottom in and lower it into the bottom track. Make sure the door rolls freely along the track.
7. Test the Door Once the door is reinstalled, gently slide it open and closed to test its movement. Check for any unusual sounds or resistance. If everything is functioning well, you’ve successfully replaced the rollers!
Maintenance Tips for Sliding Doors
To prolong the life of your sliding door rollers and ensure smooth operation, consider the following maintenance tips
- Regularly clean the track of dust and debris. - Lubricate the rollers and track every few months to maintain smooth functionality. - Avoid placing heavy objects on or leaning against the door to reduce strain on the rollers. - Inspect the rollers periodically for wear and tear.
Conclusion
Changing sliding door rollers is a manageable DIY task that can significantly improve the functionality of your doors. By following the steps outlined in this guide and performing regular maintenance, you can ensure that your sliding doors remain easy to operate and maintain their aesthetic appeal for years to come. Whether you are updating a worn-out door or simply want to enhance its performance, knowing how to replace the rollers is an invaluable skill for any homeowner.
-
Why Choose TJJ as Your Window and Door Hardware Manufacturer?NewsOct.28,2024
-
The Advantages of Cast Iron Stove Plates: A Timeless Choice for Your KitchenNewsOct.28,2024
-
Aluminium Windows Profiles: Benefits and FeaturesNewsOct.28,2024
-
Innovations in Cast Iron Panel TechnologyNewsOct.28,2024
-
The Benefits of Customizing Your Wrought Iron Fence PartsNewsOct.28,2024
-
The Immortal Legacy of Cast Iron Spears: From War to Decorative UseNewsOct.21,2024
-
 Why Choose TJJ as Your Window and Door Hardware Manufacturer?Oct-28-2024Why Choose TJJ as Your Window and Door Hardware Manufacturer?
 -
 The Advantages of Cast Iron Stove Plates: A Timeless Choice for Your KitchenOct-28-2024The Advantages of Cast Iron Stove Plates: A Timeless Choice for Your Kitchen
 -
 Aluminium Windows Profiles: Benefits and FeaturesOct-28-2024Aluminium Windows Profiles: Benefits and Features


