Tips for Replacing Sliding Door Wheels for Smooth Operation
Changing Sliding Door Wheels A Step-by-Step Guide
Sliding doors are a great addition to any home, providing an elegant transition between indoor and outdoor spaces while maximizing natural light. However, over time, the wheels on sliding doors can wear down or become damaged, causing the door to slide unevenly or become stuck. Replacing these wheels may seem daunting, but with a little patience and the right tools, you can easily restore your sliding door’s functionality. This article will guide you through the process of changing sliding door wheels, ensuring your doors glide effortlessly once again.
Tools and Materials Needed
Before you start, gather the following tools and materials 1. New sliding door wheels (make sure to select the correct size and type for your door) 2. Screwdriver (flathead and Phillips, depending on the screws used) 3. Pliers 4. Level 5. Measuring tape 6. Lubricant (optional) 7. Safety goggles and gloves for protection
Step 1 Remove the Door
1. Lift the Door First, clear the area around the sliding door. Remove any objects that may obstruct your access. To lift the door out of the track, you may need to adjust the height. Locate the adjustment screws at the bottom of the door. Typically, turning them counterclockwise will lower the door, allowing you to lift it out of the track more easily. 2. Tilt and Remove Once the door is low enough, tilt the bottom toward you, and slide it out of the top track. Be cautious, as sliding doors can be heavy.
Step 2 Inspect the Existing Wheels
With the door removed, take a close look at the existing wheels. Check for - Wear and Tear Look for any cracks, chips, or flat spots. If the wheels are not rolling smoothly, they likely need replacing. - Track Condition Inspect the track for dirt or debris that may affect the new wheels’ performance.
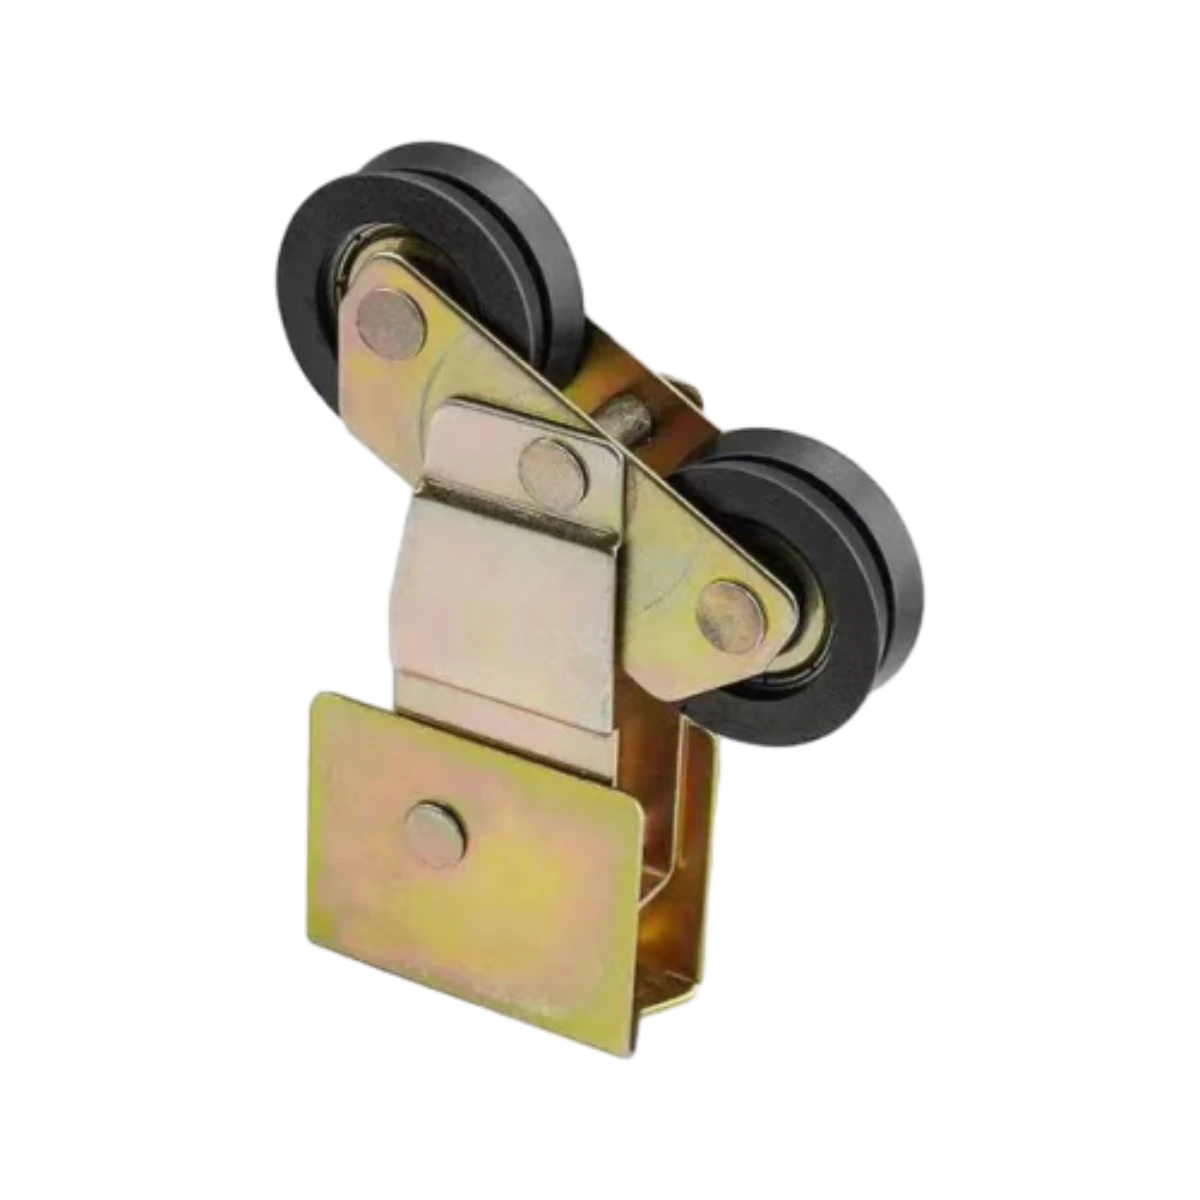
changing sliding door wheels

Step 3 Replace the Wheels
1. Remove the Old Wheels Most sliding doors have wheels that are secured with screws. Using a screwdriver, remove the screws and gently pull out the old wheels. If they are stuck, use pliers to assist in removing them, but be careful not to damage the door. 2. Install New Wheels Align the new wheels in the openings where the old ones were removed. Secure them with screws, ensuring they are tight enough to hold but not so tight that they restrict movement.
Step 4 Reinstall the Door
1. Position the Door With the new wheels installed, carefully lift the door and position the top back into the track. Make sure the wheels are rolling smoothly before lowering the bottom into the track. 2. Adjust the Height Use the adjustment screws at the bottom to ensure the door is level and doesn’t wobble. A level can assist in checking proper alignment.
Step 5 Lubricate the Wheels and Track
To enhance the performance of your sliding door, consider applying a lubricant to the wheels and the track. This can help prevent wear and ensure smoother operation.
Final Thoughts
Changing sliding door wheels is a simple yet crucial task that can significantly improve your door’s functionality. By following these steps, you’ll save on repair costs and improve the aesthetics and operation of your sliding door. Remember to periodically check the condition of the wheels and track to keep your sliding door gliding smoothly for years to come. With just a little effort, you can ensure that your sliding door remains a beautiful and functional feature in your home.
-
Why Choose TJJ as Your Window and Door Hardware Manufacturer?NewsOct.28,2024
-
The Advantages of Cast Iron Stove Plates: A Timeless Choice for Your KitchenNewsOct.28,2024
-
Aluminium Windows Profiles: Benefits and FeaturesNewsOct.28,2024
-
Innovations in Cast Iron Panel TechnologyNewsOct.28,2024
-
The Benefits of Customizing Your Wrought Iron Fence PartsNewsOct.28,2024
-
The Immortal Legacy of Cast Iron Spears: From War to Decorative UseNewsOct.21,2024
-
 Why Choose TJJ as Your Window and Door Hardware Manufacturer?Oct-28-2024Why Choose TJJ as Your Window and Door Hardware Manufacturer?
 -
 The Advantages of Cast Iron Stove Plates: A Timeless Choice for Your KitchenOct-28-2024The Advantages of Cast Iron Stove Plates: A Timeless Choice for Your Kitchen
 -
 Aluminium Windows Profiles: Benefits and FeaturesOct-28-2024Aluminium Windows Profiles: Benefits and Features


