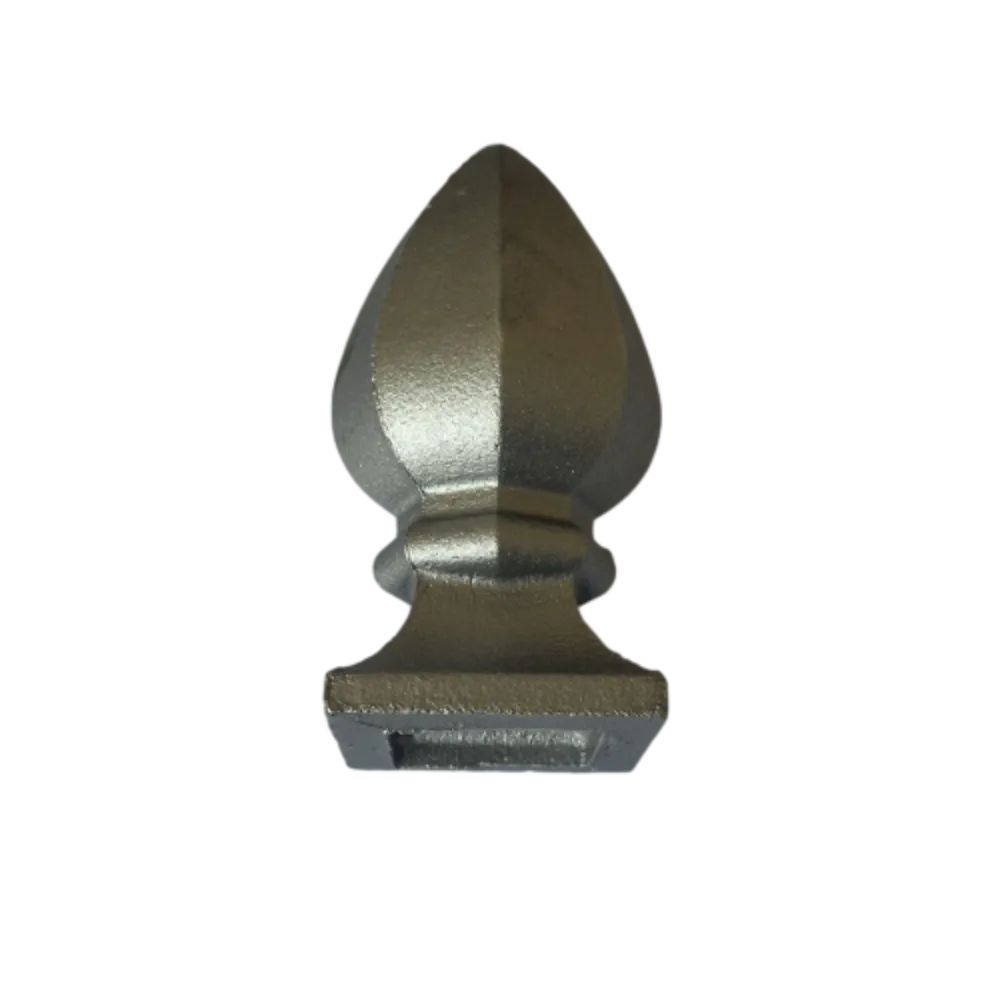
fixing sliding door rollers
Fixing Sliding Door Rollers A Comprehensive Guide
Sliding doors are a popular choice in many homes for their space-saving design and elegant appearance. However, over time, the rollers that allow these doors to glide smoothly can become worn out or damaged. This can result in frustrating difficulties when attempting to open or close the door. Thankfully, repairing sliding door rollers is often a straightforward task that can be accomplished with a little patience and the right tools. In this article, we will explore the common issues with sliding door rollers and provide step-by-step guidance on how to fix them.
Understanding Sliding Door Rollers
Before diving into the repair process, it’s essential to understand what sliding door rollers are and how they work. Rollers are small wheels or bearings located at the bottom of sliding doors, allowing them to move along a track. Depending on the design, these rollers can either be adjustable or fixed. Over time, factors such as wear and tear, dirt accumulation, and environmental conditions can lead to problems.
Common Issues
1. Misalignment One of the most frequent issues is that the door may become misaligned, preventing it from sliding properly. 2. Dirt and Debris Buildup Dirt, dust, and debris can accumulate in the track, obstructing the rollers and causing the door to stick. 3. Worn or Damaged Rollers Over time, the rollers can become worn, cracked, or entirely broken, which may require replacement. 4. Loose Hardware Sometimes, screws and fasteners that hold the rollers in place can become loose, leading to instability.
Tools and Materials Needed
To fix sliding door rollers, gather the following tools and materials
- Screwdriver (Phillips and flat-head) - Replacement rollers (if necessary) - Cleaning brush or vacuum - Lubricant (silicone spray or grease) - Level - Safety glasses (optional)
Step-by-Step Repair Process
Step 1 Inspect the Door
Start by examining the sliding door to identify any visible issues. Look closely at the rollers, track, and alignment with the door frame. If the rollers are visibly damaged or the door is not level, you’ll need to address those issues.
Step 2 Clean the Track
fixing sliding door rollers
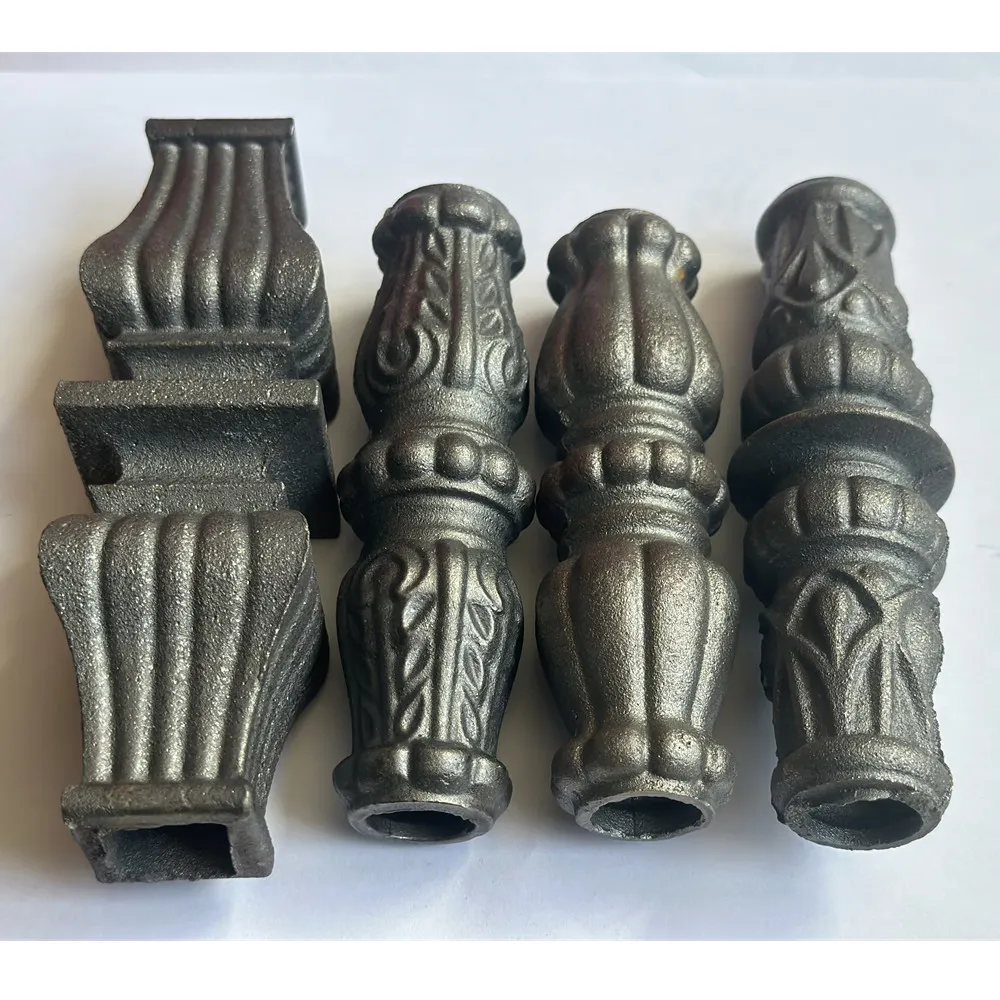
Using a cleaning brush or vacuum, thoroughly clean the track where the rollers glide. Remove any debris, dirt, or other obstructions that might hinder movement. This step is crucial as even minor blockages can impact door functionality.
Step 3 Adjust Rollers
If your door features adjustable rollers, locate the adjustment screws at the bottom of the door. Use a screwdriver to raise or lower the door as needed, ensuring that it is properly aligned with the frame and the track. A level can be helpful to confirm the door's alignment.
Step 4 Replace Rollers (if necessary)
If you’ve identified worn or damaged rollers, it’s time to replace them. To do this
- Carefully lift the door off the track. It may require assistance due to its weight. - Remove the old rollers by unscrewing them from their brackets. - Install the new rollers in the same position, ensuring they are securely screwed into place. - Reinstall the door onto the track.
Step 5 Lubricate the Track and Rollers
After reinstalling the door, apply a silicone-based lubricant along the track and to the rollers. This will facilitate smooth movement and help prevent future wear.
Step 6 Test the Door
Finally, test the sliding door by moving it back and forth to ensure that it opens and closes smoothly. Make any minor adjustments as necessary.
Conclusion
Fixing sliding door rollers might seem daunting, but with a little determination and the right tools, you can restore functionality to your sliding door. Regular maintenance, including frequent cleaning and lubrication, will extend the life of your door rollers and enhance the overall performance of your sliding door. Remember, a properly functioning sliding door not only adds convenience but also contributes to the aesthetic appeal of your home.
-
Why Choose TJJ as Your Window and Door Hardware Manufacturer?NewsOct.28,2024
-
The Advantages of Cast Iron Stove Plates: A Timeless Choice for Your KitchenNewsOct.28,2024
-
Aluminium Windows Profiles: Benefits and FeaturesNewsOct.28,2024
-
Innovations in Cast Iron Panel TechnologyNewsOct.28,2024
-
The Benefits of Customizing Your Wrought Iron Fence PartsNewsOct.28,2024
-
The Immortal Legacy of Cast Iron Spears: From War to Decorative UseNewsOct.21,2024
-
 Why Choose TJJ as Your Window and Door Hardware Manufacturer?Oct-28-2024Why Choose TJJ as Your Window and Door Hardware Manufacturer?
 -
 The Advantages of Cast Iron Stove Plates: A Timeless Choice for Your KitchenOct-28-2024The Advantages of Cast Iron Stove Plates: A Timeless Choice for Your Kitchen
 -
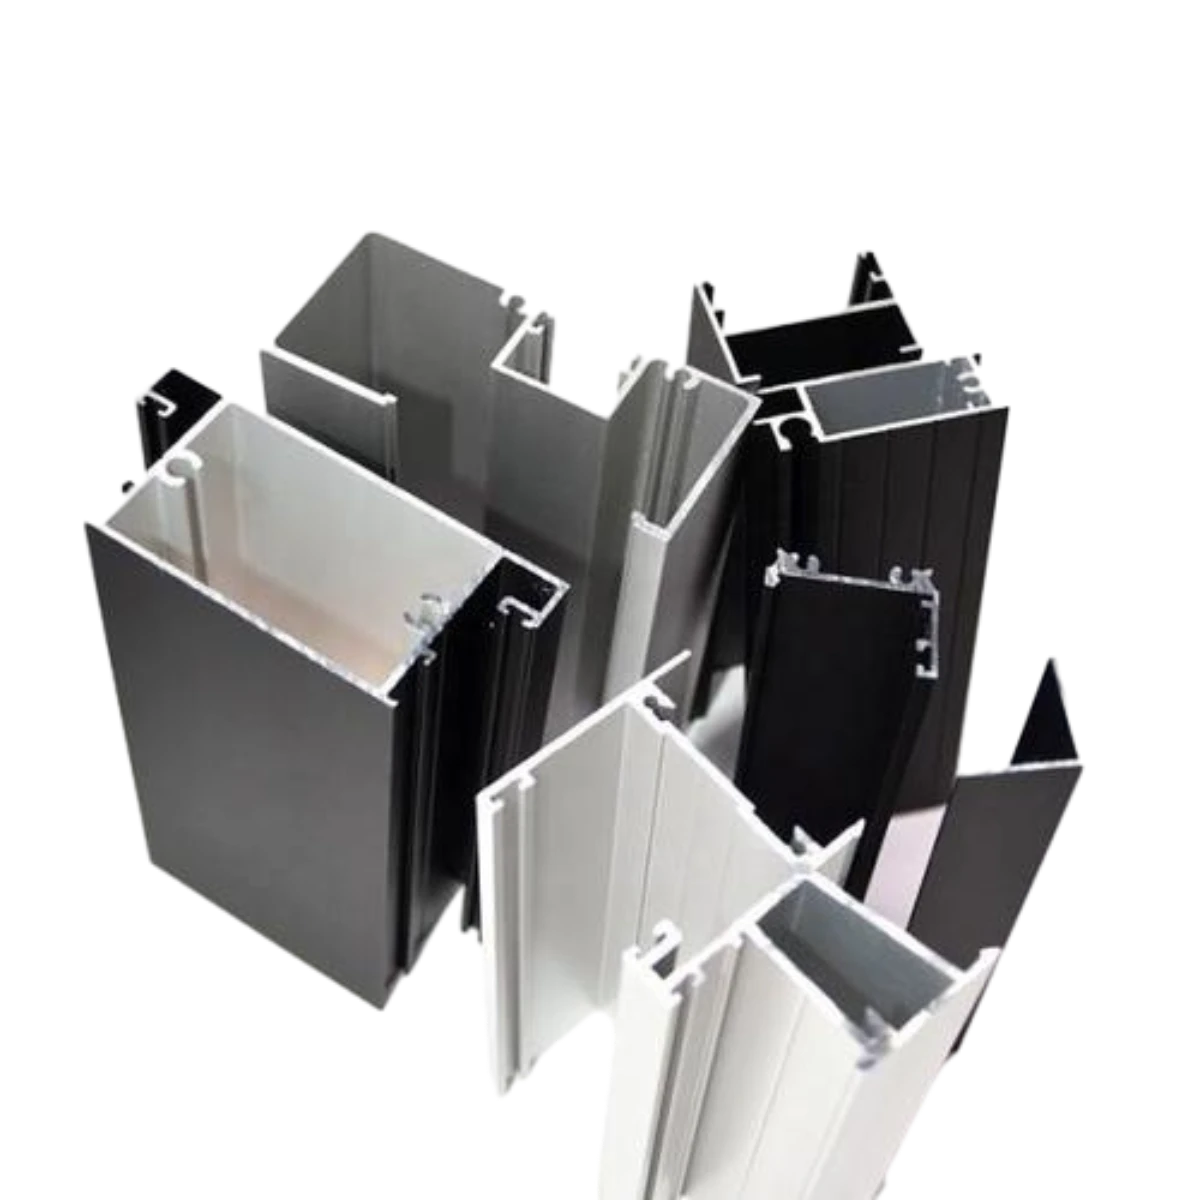 Aluminium Windows Profiles: Benefits and FeaturesOct-28-2024Aluminium Windows Profiles: Benefits and Features


