How to Effectively Remove and Replace Sliding Door Wheels for Smooth Operation
Removing Sliding Door Wheels A Step-by-Step Guide
Sliding doors are a popular choice for many homeowners due to their space-saving design and aesthetic appeal. However, over time, the wheels that allow these doors to glide smoothly can wear out or become damaged, causing inconvenience. If you’re facing difficulties with your sliding door, it may be time to remove and replace the wheels. This article provides a clear, step-by-step guide on how to remove sliding door wheels safely and effectively.
Tools and Materials Needed
Before you begin, gather the necessary tools and materials to make the process smoother. You will need - A screwdriver (typically a flathead and a Phillips) - A putty knife or flat pry bar - A utility knife - Lubricant (like silicone spray) - Replacement wheels (if needed) - Safety goggles
Step 1 Identify the Type of Sliding Door
The first step in the process is to identify the type of sliding door you have. Most sliding doors consist of two panels one that is stationary and one that slides open. The wheels are located at the bottom of the sliding door frame. Understanding your door type will help you follow the correct procedure.
Step 2 Prepare the Area
Before you begin dismantling your sliding door, it’s important to prepare the area. Move any furniture or obstacles away from the door to give yourself ample working space. Place a cloth or blanket on the ground to catch any debris and protect the floor.
Step 3 Remove the Door
To access the wheels, you will need to remove the sliding door from its track. Start by lifting the door upwards to disengage it from the top track. If the door is heavy, it's advisable to have a helper to prevent accidents. Once disengaged, tilt the bottom of the door outwards and carefully pull it away from the track.
Step 4 Locate the Wheels
removing sliding door wheels
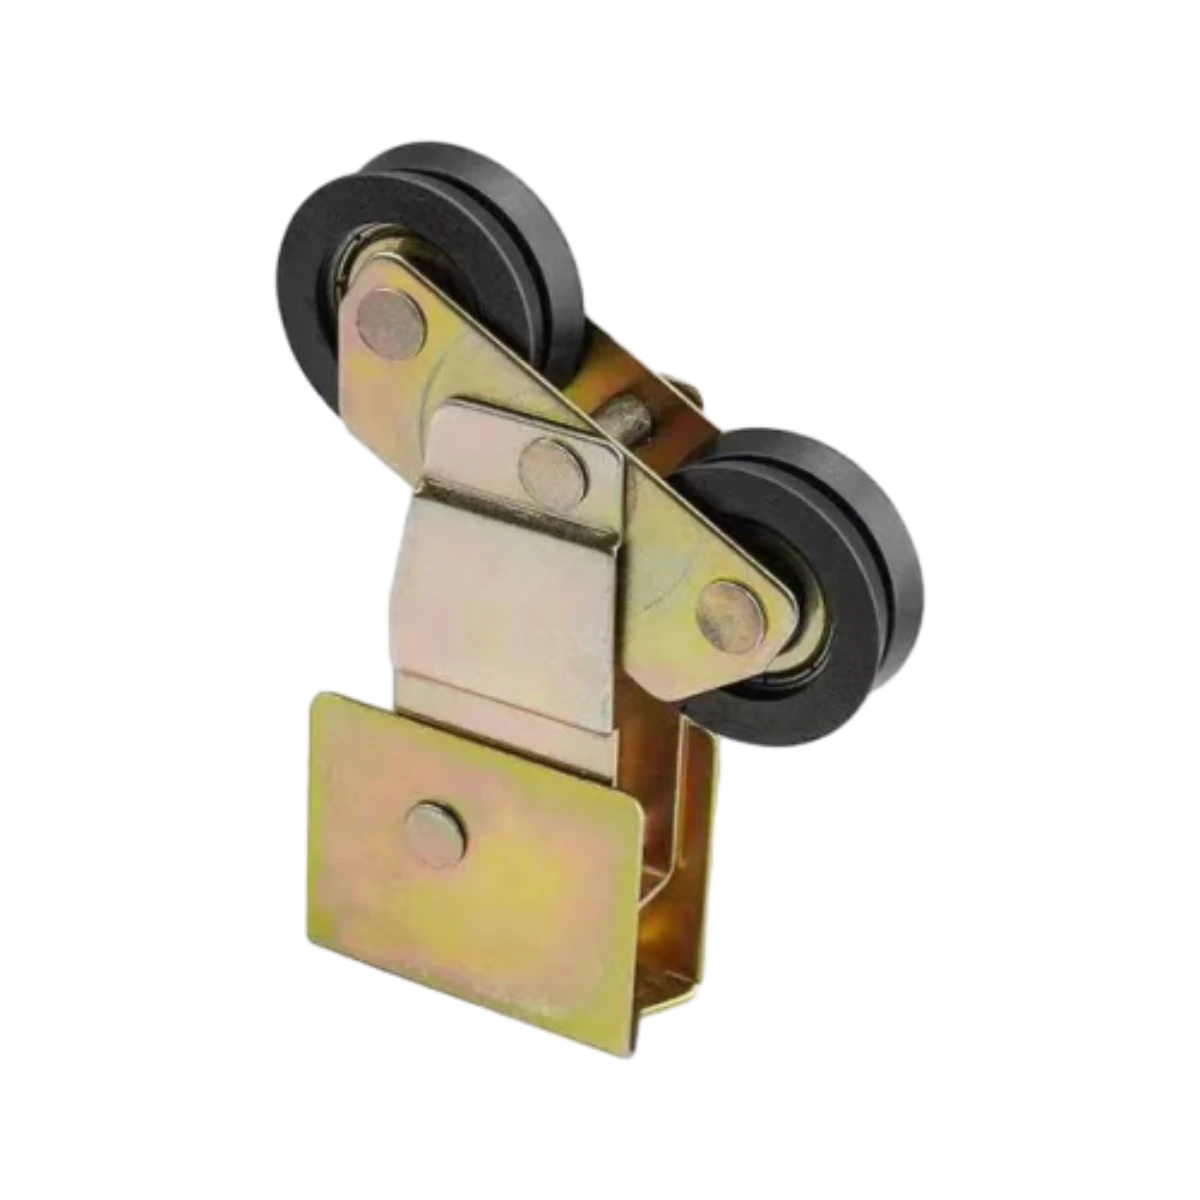
With the door removed, you will have direct access to the wheels. Most sliding doors have either adjustable screws or clips that hold the wheels in place. Inspect the bottom edge of the door to find these components.
Step 5 Remove the Wheels
Using a screwdriver, remove the screws or clips that secure the wheels. As you do this, be cautious not to damage the door frame. If the wheels are stuck due to dirt or debris, gently pry them loose with a putty knife. Once the wheels are free, carefully pull them out from their housing.
Step 6 Inspect and Replace
Once the wheels are removed, inspect them for any signs of wear or damage. If they are indeed faulty, it’s time to replace them with new ones. Ensure that the replacement wheels are compatible with your sliding door model. Installation usually involves reversing the removal process—place the new wheels into their respective slots and secure them with screws or clips.
Step 7 Rehang the Door
With new wheels in place, it’s time to rehang the sliding door. Align the top of the door with the upper track and lift it into place. Once properly positioned, tilt the bottom of the door towards the track and lower it until it sits securely on the wheels.
Step 8 Test and Lubricate
After reinstalling the door, test its movement to ensure it slides smoothly. If necessary, apply a silicone spray lubricant to the tracks and wheels, which can improve performance and extend the life of the components.
Conclusion
Removing and replacing sliding door wheels might seem daunting, but with the right tools and a methodical approach, it can be accomplished with ease. Regular maintenance, including occasional cleaning and lubrication, can enhance the longevity and functionality of your sliding door. Don’t hesitate to tackle this project—your door will glide smoothly once again!
-
Why Choose TJJ as Your Window and Door Hardware Manufacturer?NewsOct.28,2024
-
The Advantages of Cast Iron Stove Plates: A Timeless Choice for Your KitchenNewsOct.28,2024
-
Aluminium Windows Profiles: Benefits and FeaturesNewsOct.28,2024
-
Innovations in Cast Iron Panel TechnologyNewsOct.28,2024
-
The Benefits of Customizing Your Wrought Iron Fence PartsNewsOct.28,2024
-
The Immortal Legacy of Cast Iron Spears: From War to Decorative UseNewsOct.21,2024
-
 Why Choose TJJ as Your Window and Door Hardware Manufacturer?Oct-28-2024Why Choose TJJ as Your Window and Door Hardware Manufacturer?
 -
 The Advantages of Cast Iron Stove Plates: A Timeless Choice for Your KitchenOct-28-2024The Advantages of Cast Iron Stove Plates: A Timeless Choice for Your Kitchen
 -
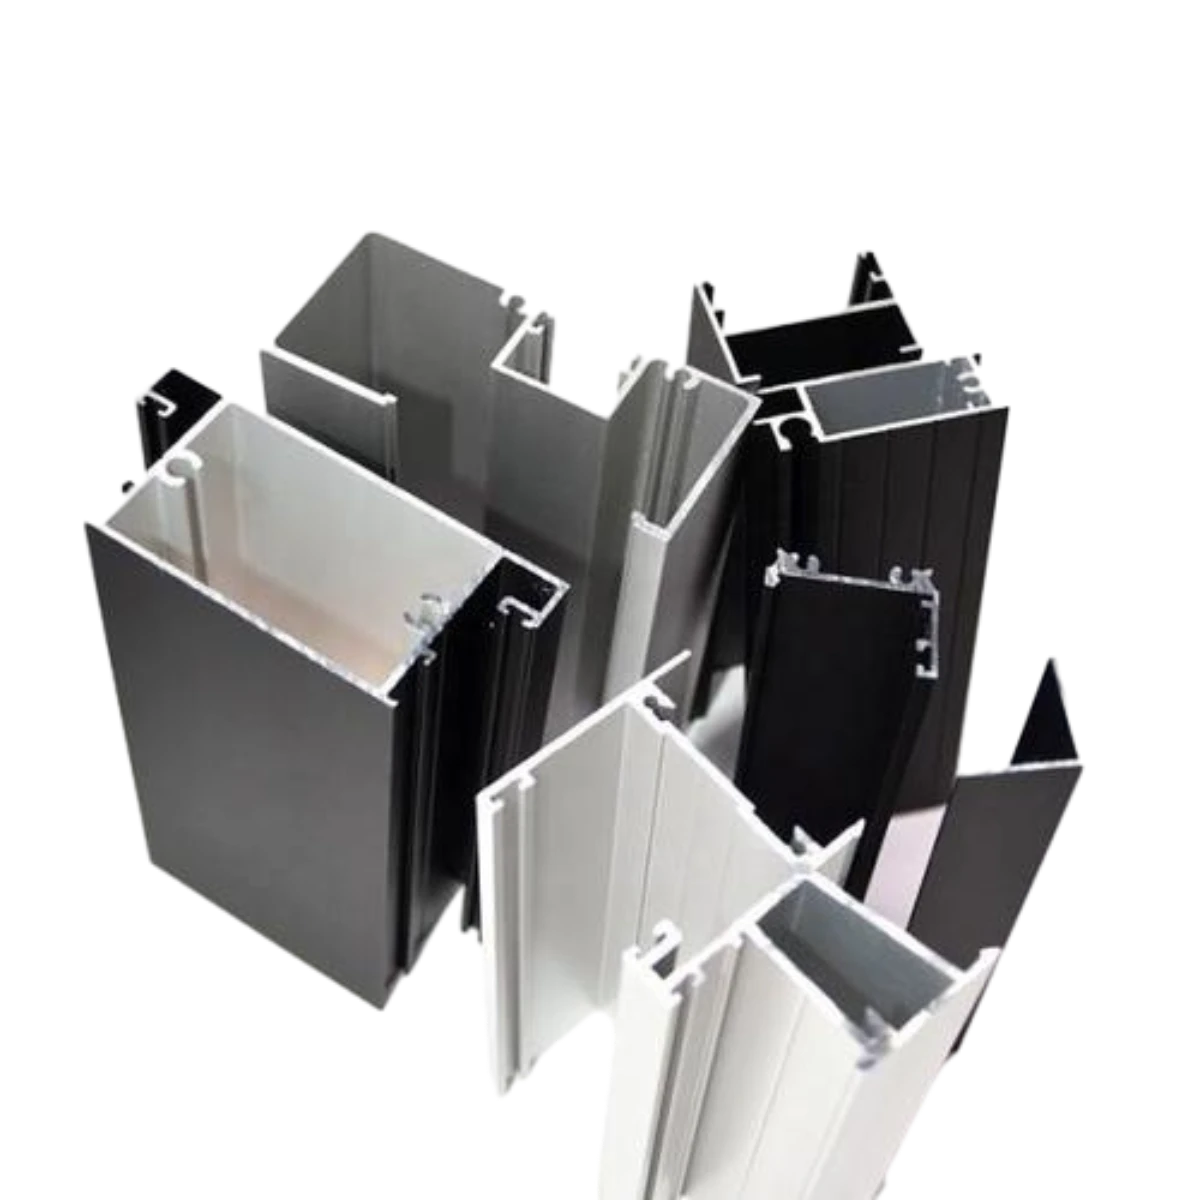 Aluminium Windows Profiles: Benefits and FeaturesOct-28-2024Aluminium Windows Profiles: Benefits and Features


