removing sliding door wheels
Removing Sliding Door Wheels A Step-by-Step Guide
Sliding doors are a popular choice for both interior and exterior spaces. They provide easy access, save space, and enhance the aesthetic appeal of a room. However, over time, the wheels of a sliding door can wear out or become damaged, leading to difficulty in opening and closing the door smoothly. If you find yourself in this situation, you may need to remove and replace the sliding door wheels. This article will guide you through the process of removing sliding door wheels safely and effectively.
Tools and Materials Needed
Before you begin, gather the necessary tools and materials - Screwdriver (flathead and Phillips) - Pliers - Utility knife - Replacement wheels (if needed) - Lubricant (such as silicone spray) - Cleaning cloth
Step 1 Ensure Safety First
Before starting any DIY project, ensure your safety. Clear the area around the sliding door of any obstacles or items that could get in the way. Remove any decorative items or furniture nearby that could hinder your movement. It’s also a good idea to wear safety goggles and gloves to protect yourself from any sharp edges or flying debris.
Step 2 Remove the Sliding Door
In order to access the wheels, you will likely need to remove the sliding door from its track. To do this, start by lifting the door upwards while tilting the bottom away from the track. Some doors may have a set screw at the top that needs to be loosened first using a screwdriver. Once you have lifted the door out of the track, set it aside on a soft surface such as a carpet or a piece of heavy cardboard to prevent scratches.
Step 3 Inspect the Wheels
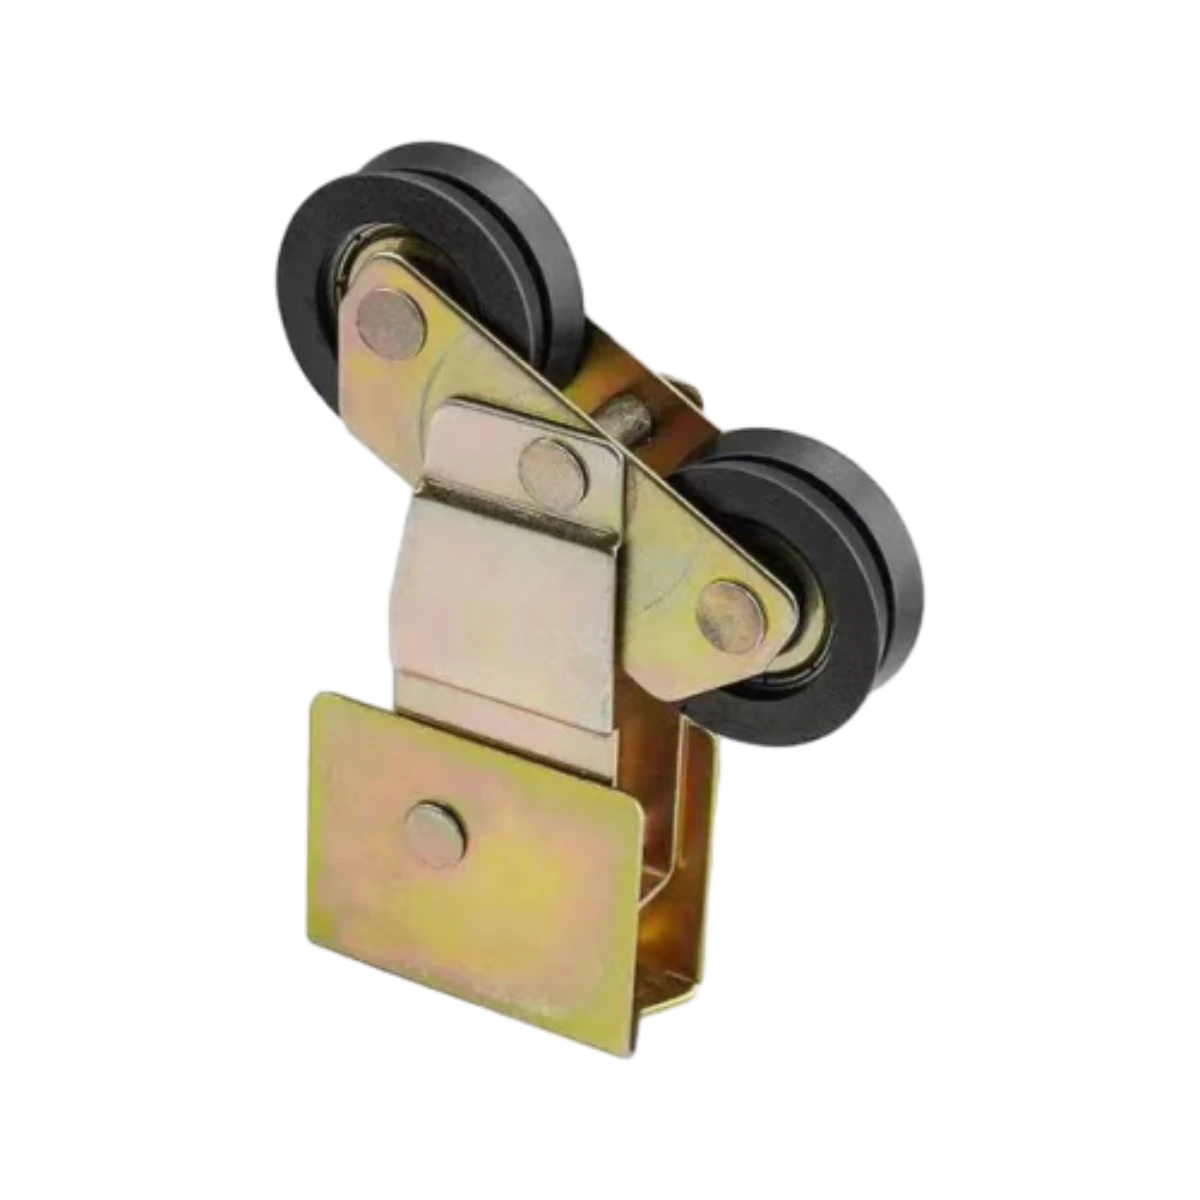
With the door removed, you can now inspect the wheels. Sliding doors typically have two wheels at the bottom. Check for any signs of damage or wear such as cracks, chips, or missing parts. If the wheels appear dirty, they may just need a good cleaning. Use a cloth to wipe away dirt and debris from the wheels and the track.
removing sliding door wheels
Step 4 Remove the Wheels
To remove the wheels, look for a small retaining clip or screw that keeps the wheel in place. Depending on the type of sliding door you have, you may need to use a flathead screwdriver to gently pry off the clip or a Phillips screwdriver to remove the screw. Once the retaining mechanism is removed, pull the wheel out from its housing. If the wheel is stuck, use pliers to gently twist and pull it free, but be careful not to damage the door frame.
Step 5 Replace the Wheels
If you have confirmed that the wheels are worn out, it’s time to replace them. Purchase replacement wheels that are compatible with your sliding door model. Insert the new wheel into the housing, ensuring it fits snugly. Reattach the retaining clip or screw to secure the wheel in place. Repeat this process for the other wheel.
Step 6 Reinstall the Sliding Door
With the new wheels in place, it’s time to reinstall the sliding door. Lift the door back into the track, ensuring that both wheels align properly with the track. As you lower the door, check that it moves smoothly and does not get stuck. If necessary, adjust the height of the door using the set screws at the top until it operates smoothly.
Step 7 Lubricate the Track
To ensure long-lasting performance, apply a silicone-based lubricant to the door track. This will reduce friction and prevent wear on the new wheels. Wipe off any excess lubricant and ensure the track is clear of debris.
Conclusion
Removing and replacing sliding door wheels may seem challenging at first, but with the right tools and a little bit of patience, it’s a task you can tackle on your own. Keeping your sliding door in good condition not only enhances its functionality but also prolongs the life of the door. Regular maintenance, including cleaning and lubrication of the wheels and track, will help ensure smooth operation for years to come. With this guide, you’ll be well-equipped to handle any issues related to sliding door wheels confidently.
-
Why Choose TJJ as Your Window and Door Hardware Manufacturer?NewsOct.28,2024
-
The Advantages of Cast Iron Stove Plates: A Timeless Choice for Your KitchenNewsOct.28,2024
-
Aluminium Windows Profiles: Benefits and FeaturesNewsOct.28,2024
-
Innovations in Cast Iron Panel TechnologyNewsOct.28,2024
-
The Benefits of Customizing Your Wrought Iron Fence PartsNewsOct.28,2024
-
The Immortal Legacy of Cast Iron Spears: From War to Decorative UseNewsOct.21,2024
-
 Why Choose TJJ as Your Window and Door Hardware Manufacturer?Oct-28-2024Why Choose TJJ as Your Window and Door Hardware Manufacturer?
 -
 The Advantages of Cast Iron Stove Plates: A Timeless Choice for Your KitchenOct-28-2024The Advantages of Cast Iron Stove Plates: A Timeless Choice for Your Kitchen
 -
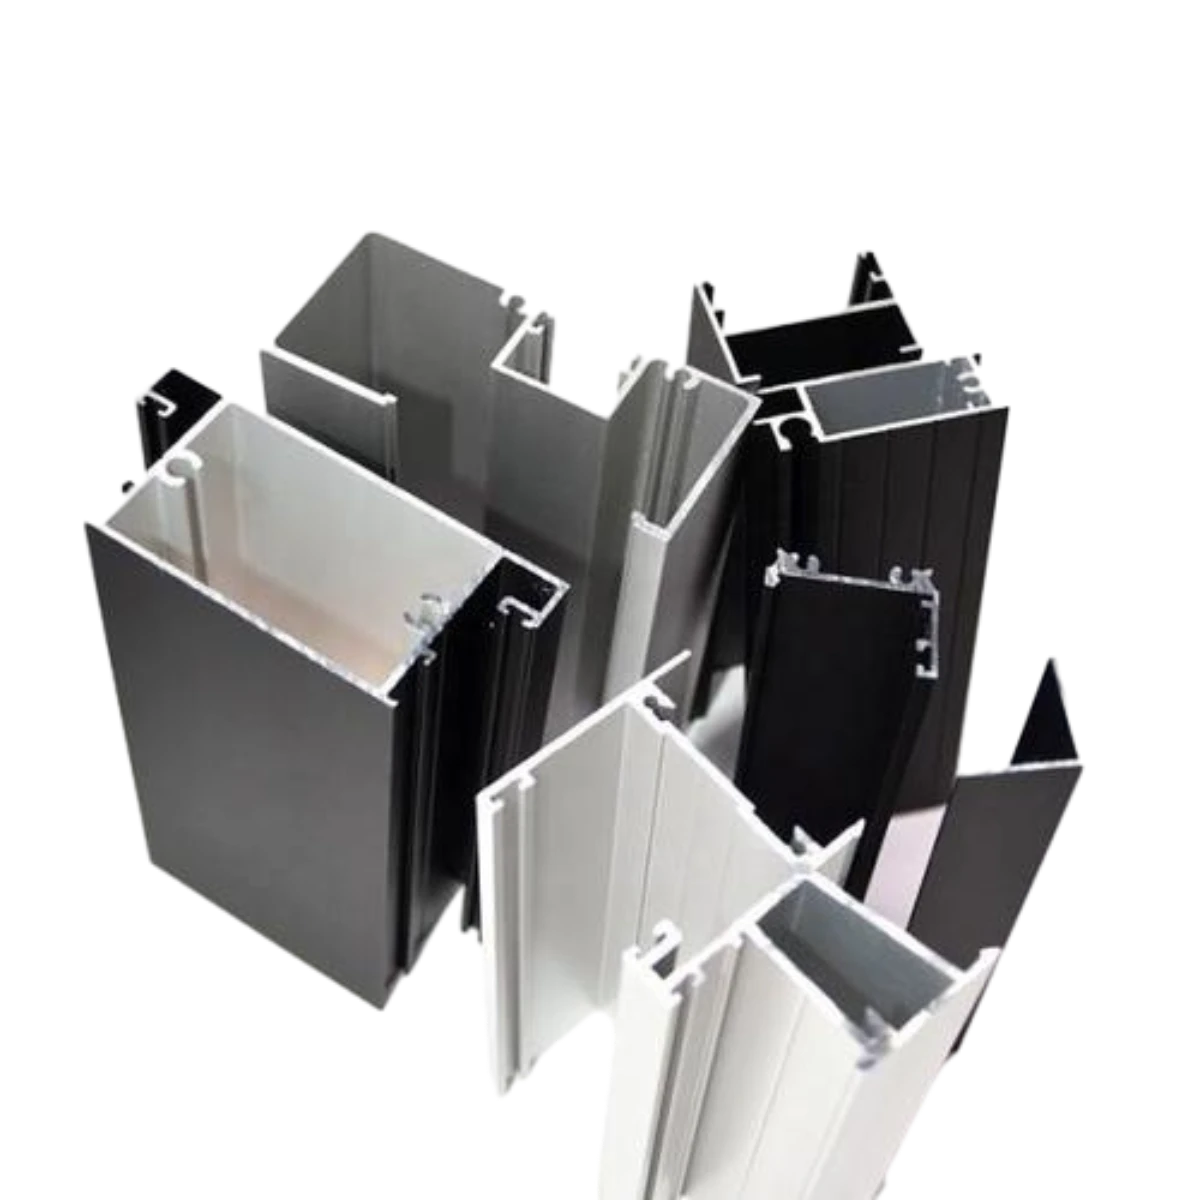 Aluminium Windows Profiles: Benefits and FeaturesOct-28-2024Aluminium Windows Profiles: Benefits and Features


