removing sliding screen door rollers
Removing Sliding Screen Door Rollers A Step-by-Step Guide
Sliding screen doors are a common feature in many homes, offering a convenient way to enjoy fresh air while keeping insects at bay. However, over time, the rollers that allow these doors to glide smoothly can wear out or become damaged, resulting in a frustrating experience when opening or closing the door. Fortunately, removing and replacing sliding screen door rollers is a manageable task that most homeowners can tackle. This guide will provide you with clear, step-by-step instructions to make the process easier.
Tools and Materials Needed
Before you start, gather the following tools and materials
- Screwdriver (flathead and Phillips) - Pliers - Replacement rollers - Lubricant (such as silicone spray or WD-40) - A clean cloth - Safety goggles
Step 1 Prepare the Area
Begin by clearing the area around the sliding screen door. Remove any furniture, plants, or other obstacles that might hinder your access to the door. Once the area is clear, inspect the door for any specific damage that may need attention.
Step 2 Remove the Screen Door
To access the rollers, you'll first need to remove the sliding screen door from its track. Start by lifting the door gently to detach it from the top track. If the door is particularly heavy or large, consider enlisting the help of a friend. As you lift, angle the bottom of the door outward to free it from the bottom track. Once free, set the door down carefully in a safe location.
Step 3 Inspect and Remove the Rollers
Once the door is removed, locate the rollers at the bottom. Most screen door rollers are secured with screws, which you will need to unscrew using your screwdriver. If the screws are stuck or rusty, apply some lubricant and wait a few minutes before attempting to remove them again. Once the screws are removed, gently pull out the rollers. In most cases, they will slide right out, but you may need to wiggle them slightly if they are stuck.
removing sliding screen door rollers
Step 4 Replace the Rollers
With the old rollers removed, you can now install the new ones. Compare the new rollers with the old ones to ensure they match in size and style. Insert the new rollers into the designated slots at the bottom of the door, making sure they fit securely. Once in place, use the screwdriver to reattach any screws that hold the rollers in position. Be careful not to overtighten the screws, as this could cause damage to the rollers or the door.
Step 5 Reinstall the Door
With the new rollers securely attached, it’s time to reinstall the sliding screen door. Again, lift the door into the top track and then lower it into the bottom track, making sure the rollers fit correctly into the groove. Slide the door back and forth a few times to ensure it moves smoothly along the track. If it feels stiff or catches, double-check that the rollers are properly aligned and lubricated.
Step 6 Final Adjustments
Once the door is reinstalled, you may want to make some adjustments to ensure it fits well within the frame. Look for any gaps or misalignments and make small adjustments as needed. If your door has an adjustment screw on the rollers, turn it to raise or lower the door slightly. This step can help improve the door's functionality and security.
Step 7 Clean and Maintain
After completing the roller replacement, take the time to clean the door frame and tracks thoroughly. Use a clean cloth to wipe down the door and remove any dirt or debris. Apply lubricant to the tracks to ensure smooth operation in the future. Regular maintenance of your sliding screen door will prolong its lifespan and enhance its functionality.
Conclusion
Removing and replacing sliding screen door rollers doesn’t have to be a daunting task. By following these simple steps, you can restore your door’s functionality and enjoy a fresh breeze without the annoyance of a sticking screen. Remember to perform regular maintenance and inspections to keep your sliding screen door in great shape for years to come. Happy DIYing!
-
Why Choose TJJ as Your Window and Door Hardware Manufacturer?NewsOct.28,2024
-
The Advantages of Cast Iron Stove Plates: A Timeless Choice for Your KitchenNewsOct.28,2024
-
Aluminium Windows Profiles: Benefits and FeaturesNewsOct.28,2024
-
Innovations in Cast Iron Panel TechnologyNewsOct.28,2024
-
The Benefits of Customizing Your Wrought Iron Fence PartsNewsOct.28,2024
-
The Immortal Legacy of Cast Iron Spears: From War to Decorative UseNewsOct.21,2024
-
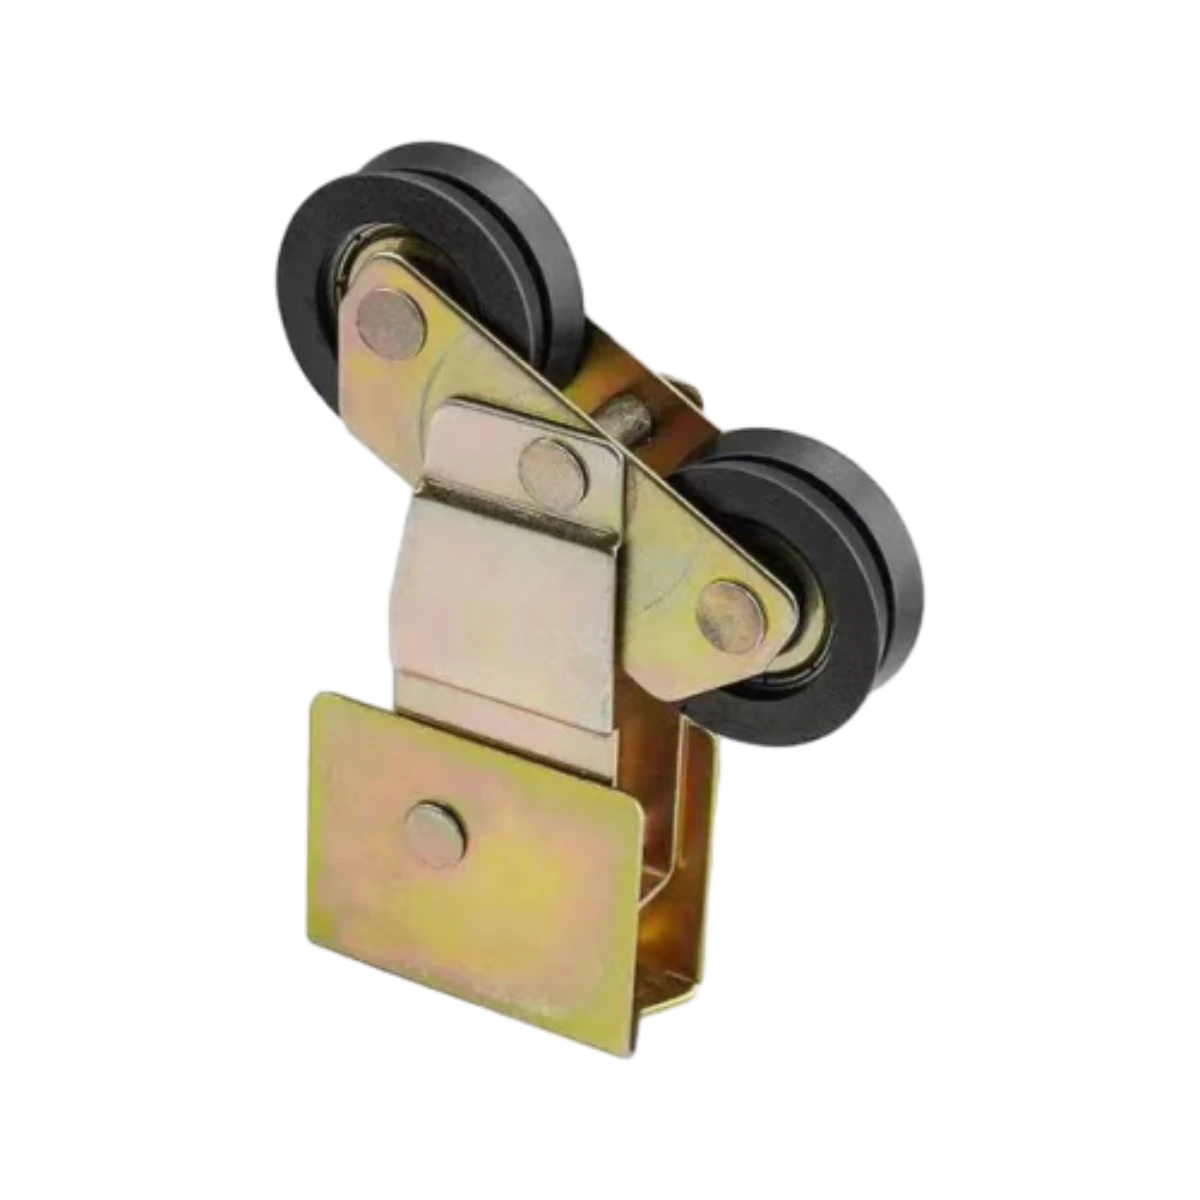 Why Choose TJJ as Your Window and Door Hardware Manufacturer?Oct-28-2024Why Choose TJJ as Your Window and Door Hardware Manufacturer?
 -
 The Advantages of Cast Iron Stove Plates: A Timeless Choice for Your KitchenOct-28-2024The Advantages of Cast Iron Stove Plates: A Timeless Choice for Your Kitchen
 -
 Aluminium Windows Profiles: Benefits and FeaturesOct-28-2024Aluminium Windows Profiles: Benefits and Features


