replacing rollers on a sliding door
Replacing Rollers on a Sliding Door A Step-by-Step Guide
Sliding doors are a popular choice for many homeowners due to their space-saving design and ease of use. However, over time, the rollers that enable the door to glide smoothly can wear out, causing the door to become difficult to open or close. If you’re facing this issue, don't worry! Replacing the rollers on your sliding door is a manageable task that you can accomplish with a little time and some basic tools. Here’s a step-by-step guide to help you through the process.
Tools and Materials You Will Need
Before getting started, gather all the necessary tools and materials. You will need the following
1. Flathead screwdriver 2. Phillips head screwdriver 3. Replacement rollers (make sure to get the right size for your sliding door) 4. Tape measure 5. Level 6. Work gloves 7. Safety goggles
Step 1 Remove the Sliding Door
First, you need to remove the door from its frame. To do this, slightly lift the door upward while pulling the bottom toward you. This might require a bit of effort if the rollers are stuck. Once the door is free, place it on a padded surface to prevent scratches.
Step 2 Examine the Rollers
Once the door is removed, you can inspect the rollers more closely. Look for any signs of damage, wear, or corrosion. If the rollers do not spin freely or show signs of significant wear, they need to be replaced.
Step 3 Remove the Old Rollers
Using the appropriate screwdriver, remove the screws that hold the old rollers in place. Depending on the design of your sliding door, the rollers may be mounted on the bottom of the door, inside a track system. Be sure to keep the screws in a safe place for reassembly later. Gently lift the old rollers out from their slots. If they seem stuck, apply a little pressure or wiggle them free.
replacing rollers on a sliding door
Step 4 Install New Rollers
Now it’s time to install the new rollers. Take your new rollers and slide them into the same slots where the old ones were removed from. Ensure they fit snugly and are positioned correctly. Again, secure them with the screws you removed earlier. Be careful not to overtighten the screws, as this may lead to misalignment.
Step 5 Reinstall the Door
With the new rollers in place, it’s time to put the sliding door back into its frame. Lift the door and angle it as you did during removal. Make sure the top of the door fits in the track before lowering the bottom. Once the door is seated properly in the track, check the movement by sliding it back and forth. If it glides smoothly, you’re on the right track!
Step 6 Adjusting the Rollers
In some cases, you may need to adjust the height of the rollers to ensure the door is level. Locate the adjustment screws typically found on the bottom of the door. Turn these screws to raise or lower the door until it’s level and operates smoothly. A level can assist you in this process, ensuring that your door is perfectly straight.
Step 7 Final Checks
After everything is reinstalled and adjusted, make sure to test the sliding door multiple times. Open and close it several times to ensure that the rollers are functioning correctly and that the door stays on track. If necessary, make any minor adjustments to improve the performance.
Conclusion
Replacing the rollers on a sliding door is a straightforward DIY project that can significantly improve its functionality. With the right tools and a bit of patience, you can have your sliding door gliding smoothly again in no time. Regular maintenance, including cleaning the tracks and inspecting the rollers, can prolong the life of your sliding door and enhance your home’s accessibility. Happy DIY-ing!
-
Why Choose TJJ as Your Window and Door Hardware Manufacturer?NewsOct.28,2024
-
The Advantages of Cast Iron Stove Plates: A Timeless Choice for Your KitchenNewsOct.28,2024
-
Aluminium Windows Profiles: Benefits and FeaturesNewsOct.28,2024
-
Innovations in Cast Iron Panel TechnologyNewsOct.28,2024
-
The Benefits of Customizing Your Wrought Iron Fence PartsNewsOct.28,2024
-
The Immortal Legacy of Cast Iron Spears: From War to Decorative UseNewsOct.21,2024
-
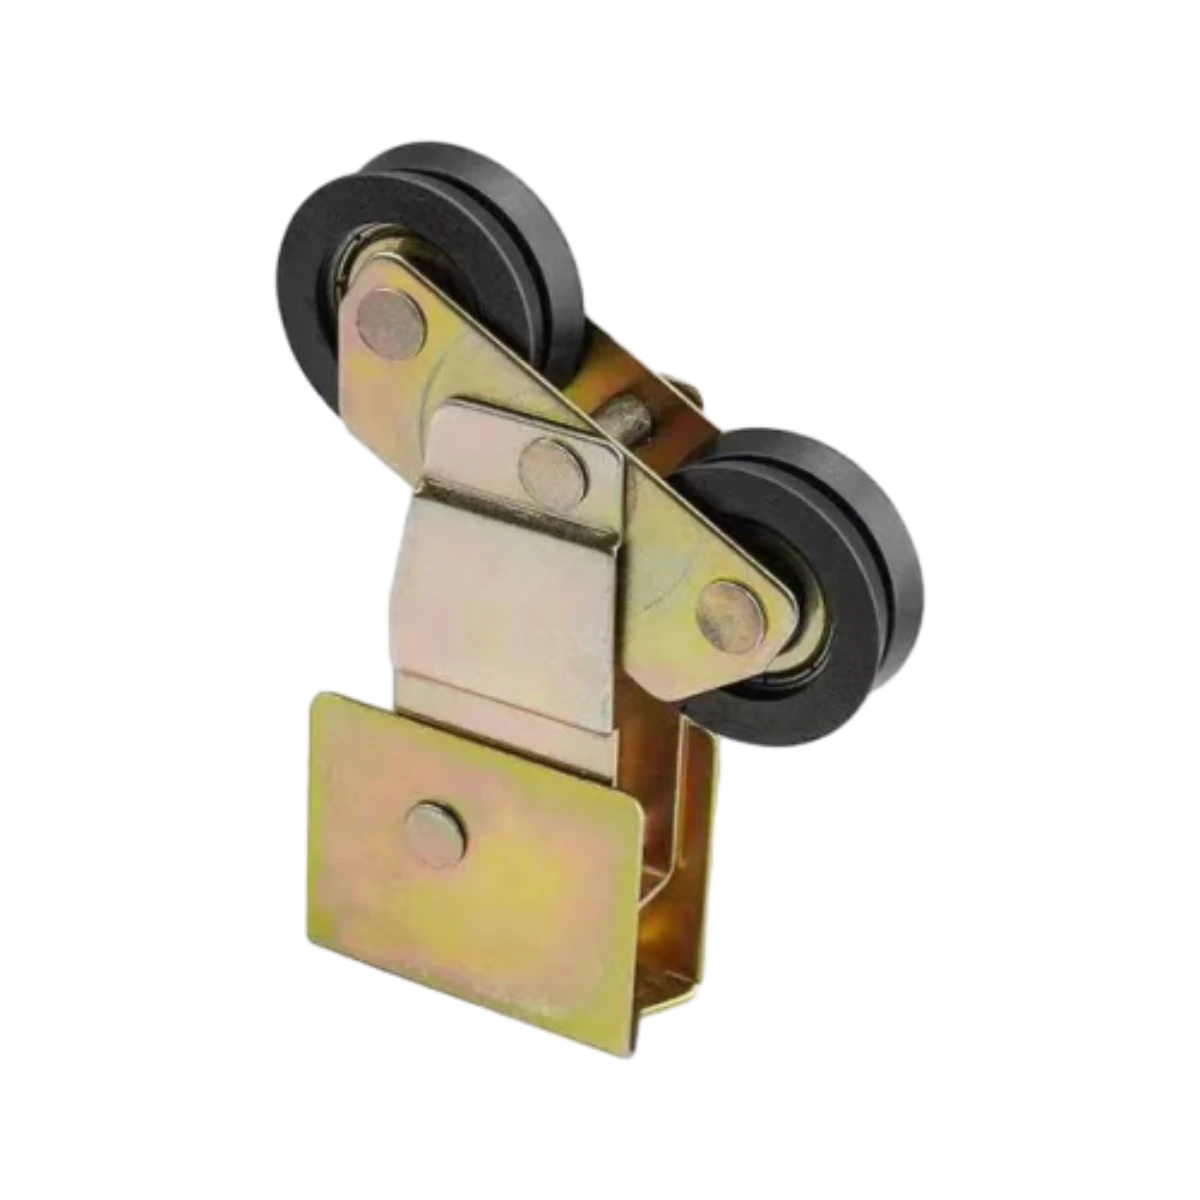 Why Choose TJJ as Your Window and Door Hardware Manufacturer?Oct-28-2024Why Choose TJJ as Your Window and Door Hardware Manufacturer?
 -
 The Advantages of Cast Iron Stove Plates: A Timeless Choice for Your KitchenOct-28-2024The Advantages of Cast Iron Stove Plates: A Timeless Choice for Your Kitchen
 -
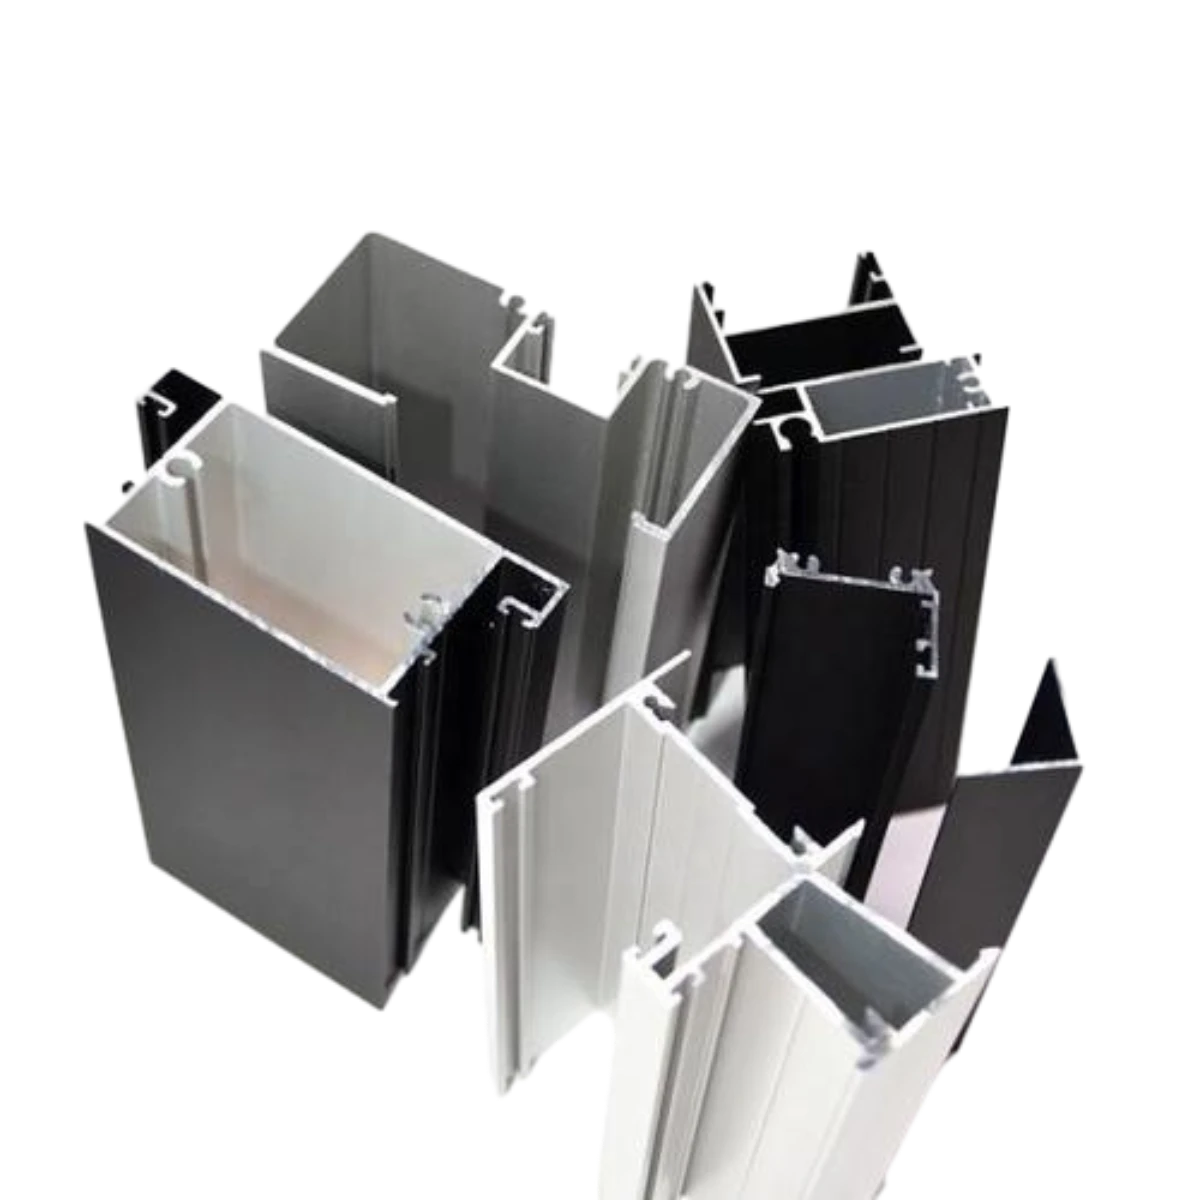 Aluminium Windows Profiles: Benefits and FeaturesOct-28-2024Aluminium Windows Profiles: Benefits and Features


