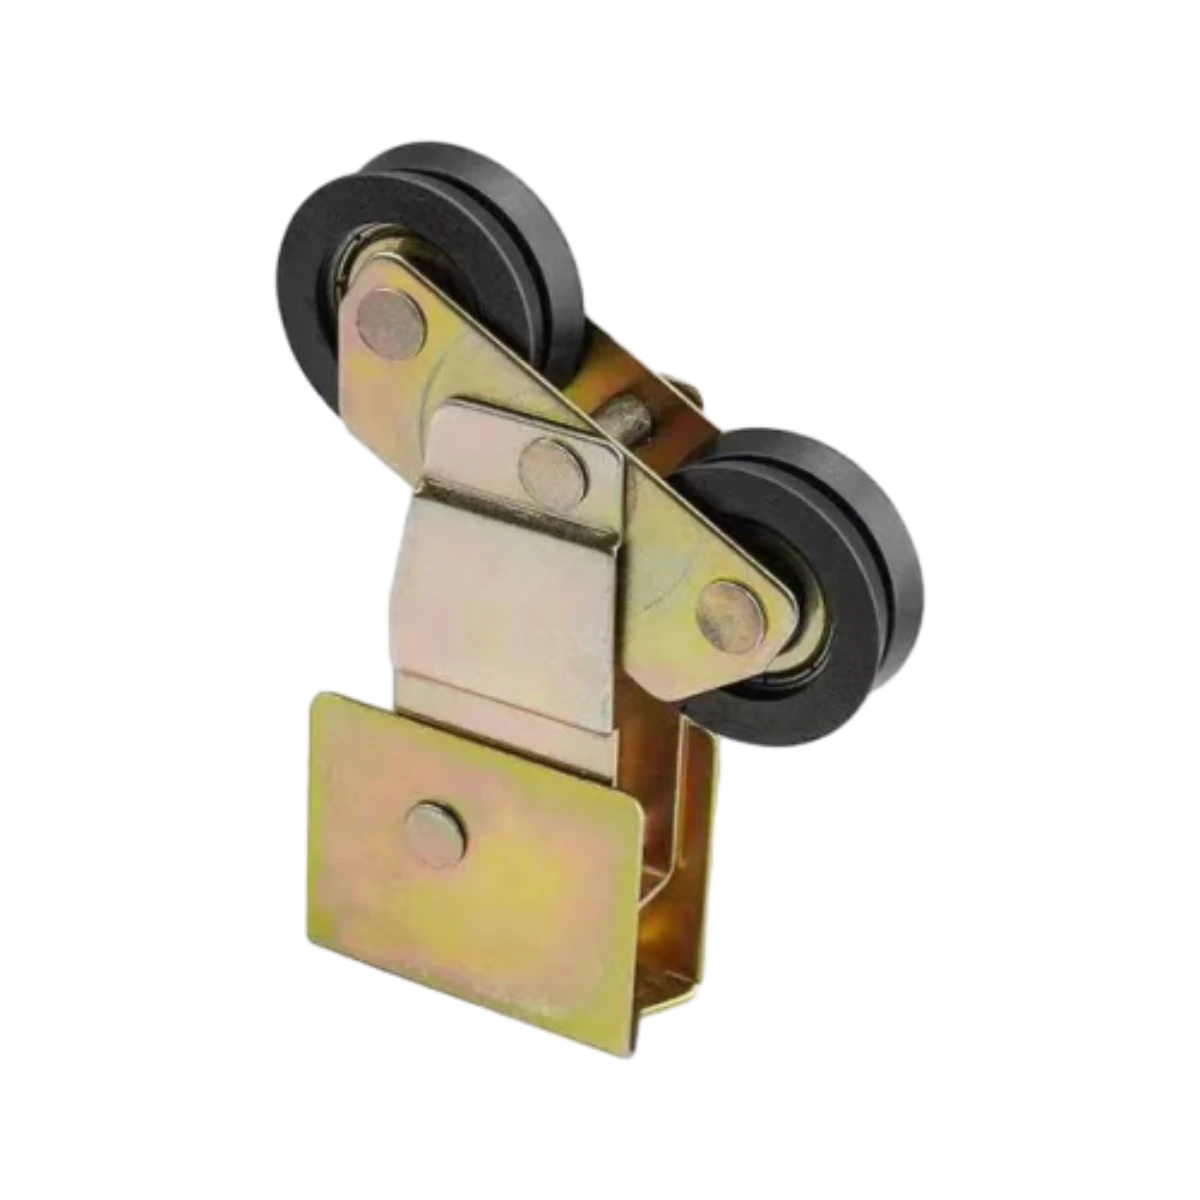
sliding mirror door roller replacement
Sliding Mirror Door Roller Replacement A Step-by-Step Guide
Sliding mirror doors are a stylish and functional feature found in many homes and closets, allowing easy access while adding an aesthetically pleasing element to a room. However, over time, the rollers that enable these doors to glide smoothly can wear out or break, causing frustration and inconvenience. If you’re experiencing difficulty when opening or closing your sliding mirror doors, it may be time to consider roller replacement. This guide will walk you through the steps necessary to effectively replace sliding mirror door rollers.
Why Replace Sliding Mirror Door Rollers?
Before we dive into the replacement process, it’s essential to understand why rollers might need replacing. The most common signs that your door rollers need attention include
1. Difficulty in Sliding If the doors are sticking or require excessive force to open or close, worn rollers are likely the culprit. 2. Noisy Operation Creaking or grinding sounds when operating the door can indicate damaged rollers. 3. Visible Damage Inspect the rollers for signs of wear, such as cracks or bends, which can impair their function.
Tools and Materials Needed
Before starting the project, gather the following tools and materials
- Screwdriver (Phillips or flathead, depending on your door's screws) - Replacement rollers (available at hardware stores or online) - Level - Tape measure - Safety goggles - Lubricant (optional; silicone spray is recommended) - Vacuum cleaner or broom (for cleaning)
Step-by-Step Replacement Process
Step 1 Remove the Door
1. Clear the Area Before working on the mirror door, remove any items that may obstruct your movement. 2. Lift the Door Depending on the type of door frame, you may need to lift the door upwards and tilt it slightly to disengage it from its track. A second person can help manage this step to avoid damage.
Step 2 Inspect the Rollers
sliding mirror door roller replacement

Once the door is removed, take a close look at the rollers. They can usually be found at the bottom of the door. Determine which type of rollers you need to replace. If they are rusty or damaged, it's time to replace them.
Step 3 Replace the Rollers
1. Remove Old Rollers Using a screwdriver, remove the screws securing the old rollers to the door. Keep these screws for the new rollers. 2. Install New Rollers Align the new rollers in position and secure them with the previously removed screws. Ensure they are tightened properly but be careful not to overtighten, which can cause damage.
Step 4 Clean the Tracks
Before re-hanging the door, clean the top and bottom tracks thoroughly. Dust and debris can contribute to roller problems in the future. Use a vacuum cleaner or a damp cloth to clear the area.
Step 5 Re-Hang the Door
1. Position the Door Align the top of the door into the track and then lift it slightly to guide the bottom rollers into their respective tracks. 2. Check Alignment Once the door is hanging, gently slide it back and forth to ensure it operates smoothly. If it seems misaligned, make small adjustments.
Step 6 Final Touches
After ensuring that the door moves freely, consider applying a silicone-based lubricant to the rollers and tracks. This will help maintain smooth operation and prevent future wear.
Conclusion
Replacing rolling mechanisms on sliding mirror doors isn’t an overly complicated task, but it does require some basic tools and a little patience. By following these steps, you can restore the functionality of your mirror doors, enhancing both convenience and aesthetics in your home. If at any point you feel uncertain about the process, don’t hesitate to consult a professional. Enjoy your smoothly operating sliding mirror doors!
-
Why Choose TJJ as Your Window and Door Hardware Manufacturer?NewsOct.28,2024
-
The Advantages of Cast Iron Stove Plates: A Timeless Choice for Your KitchenNewsOct.28,2024
-
Aluminium Windows Profiles: Benefits and FeaturesNewsOct.28,2024
-
Innovations in Cast Iron Panel TechnologyNewsOct.28,2024
-
The Benefits of Customizing Your Wrought Iron Fence PartsNewsOct.28,2024
-
The Immortal Legacy of Cast Iron Spears: From War to Decorative UseNewsOct.21,2024
-
 Why Choose TJJ as Your Window and Door Hardware Manufacturer?Oct-28-2024Why Choose TJJ as Your Window and Door Hardware Manufacturer?
 -
 The Advantages of Cast Iron Stove Plates: A Timeless Choice for Your KitchenOct-28-2024The Advantages of Cast Iron Stove Plates: A Timeless Choice for Your Kitchen
 -
 Aluminium Windows Profiles: Benefits and FeaturesOct-28-2024Aluminium Windows Profiles: Benefits and Features


