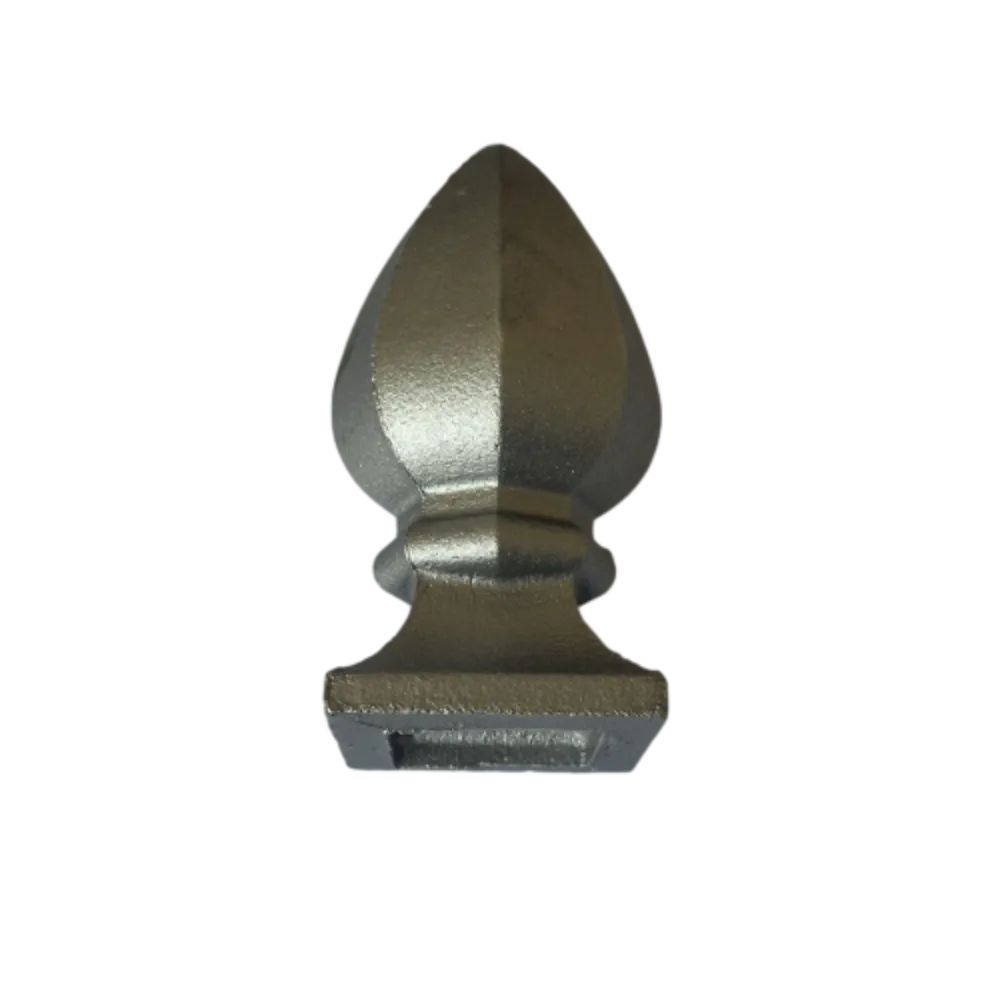
Steps to Craft a Durable Spearhead for Hunting and Outdoor Activities
How to Make a Spearhead A Step-by-Step Guide
Creating a spearhead can be an intriguing and rewarding endeavor, whether for historical reenactment, survival skills, or simply as a creative project. This guide will walk you through the process of making a spearhead, detailing the materials, tools, and steps involved.
Materials Needed
1. Metal The primary material for your spearhead can be steel or iron. Old tools, such as files or wrenches, can often be repurposed for this project. 2. Wood A sturdy wooden shaft, such as oak or hickory, will serve as the main body of your spear. 3. Binding Material You’ll need strong twine or sinew to secure the spearhead to the shaft. 4. Optional Decorative embellishments such as feathers or paints.
Tools Required
1. Forge or Propane Torch For heating the metal to a malleable state. 2. Anvil or Hard Surface To shape the heated metal. 3. Hammers A peen hammer for shaping and a ball-peen hammer for details. 4. Tongs To safely handle the hot metal. 5. Files or Grinders For refining the spearhead's shape. 6. Drill For creating holes in the spearhead, if necessary. 7. Safety Gear Gloves, goggles, and protective clothing to ensure safety during the process.
Step-by-Step Process
Step 1 Design Your Spearhead
Begin by sketching the desired shape of your spearhead. Common designs include the triangular, leaf-shaped, or barbed heads, each serving different purposes. Consider the size and form based on the intended use of the spear.
Step 2 Prepare the Metal
Cut a piece of metal to a manageable size, approximately 6 to 12 inches in length. Heat the metal in the forge or with a propane torch until it becomes red-hot and malleable. Always monitor the temperature, as overheated metal can lose its integrity.
Step 3 Shaping the Spearhead
how to make a spear head
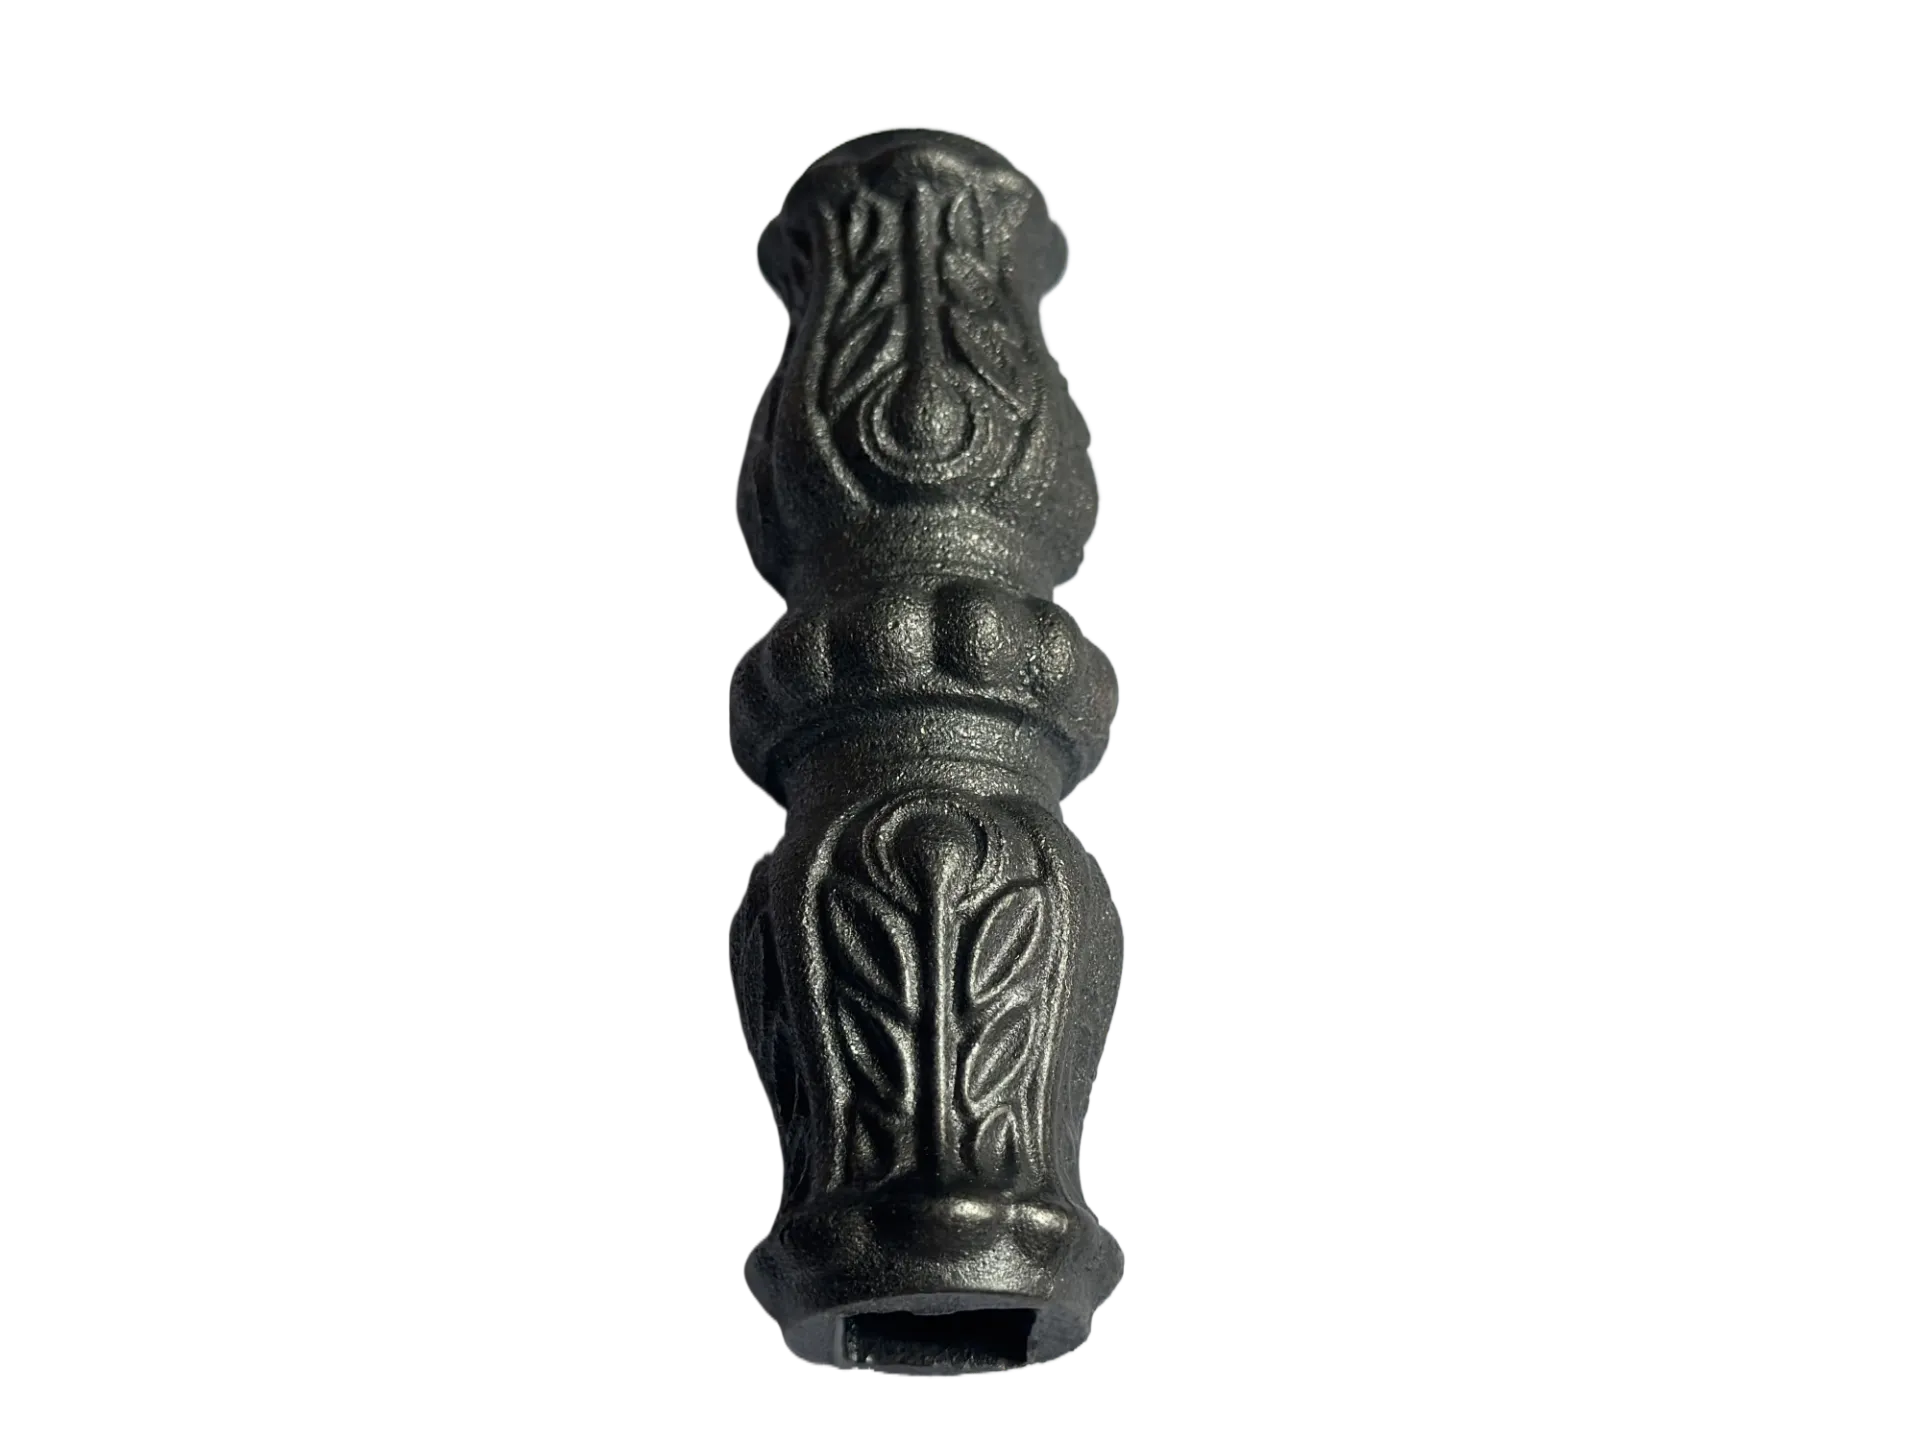
Once the metal is heated, place it on the anvil and begin shaping it with your hammer. Start by flattening one end, then gradually shape it to your desired point. Use the peen hammer for finer details, creating grooves or barbs if your design calls for them.
Step 4 Quenching
After shaping, the spearhead needs to be hardened. Quench it by plunging it into water or oil. This process will harden the metal but can create brittleness if not done correctly. Temper it by reheating the spearhead until it turns a blue hue, softening its hardness while retaining durability.
Step 5 Drilling and Refinement
If your design includes a hole for attachment, drill it now. Using a file or grinder, smooth out any sharp edges and refine the spearhead’s shape for optimal aerodynamics.
Step 6 Attaching the Spearhead to the Shaft
Select a solid wooden dowel for your spear shaft, ideally around 6 to 8 feet in length. Carve a notch at one end to fit the spearhead securely. Position the spearhead in the notch and wrap strong twine or sinew tightly around it, ensuring a secure bond. You can also secure it with wood glue for added permanence.
Step 7 Finishing Touches
Consider decorating your spear to reflect your personality or heritage. You can paint the shaft, add feathers for aerodynamics, or carve designs into the wood.
Conclusion
Making a spearhead is not only a practical skill but also a fascinating exploration of metallurgy and craftsmanship. With patience and attention to detail, anyone can create a functional and beautiful spearhead. Whether used for display or in practical applications, each spear carries a blend of history, tradition, and personal achievement. Happy crafting!
-
Why Choose TJJ as Your Window and Door Hardware Manufacturer?NewsOct.28,2024
-
The Advantages of Cast Iron Stove Plates: A Timeless Choice for Your KitchenNewsOct.28,2024
-
Aluminium Windows Profiles: Benefits and FeaturesNewsOct.28,2024
-
Innovations in Cast Iron Panel TechnologyNewsOct.28,2024
-
The Benefits of Customizing Your Wrought Iron Fence PartsNewsOct.28,2024
-
The Immortal Legacy of Cast Iron Spears: From War to Decorative UseNewsOct.21,2024
-
 Why Choose TJJ as Your Window and Door Hardware Manufacturer?Oct-28-2024Why Choose TJJ as Your Window and Door Hardware Manufacturer?
 -
 The Advantages of Cast Iron Stove Plates: A Timeless Choice for Your KitchenOct-28-2024The Advantages of Cast Iron Stove Plates: A Timeless Choice for Your Kitchen
 -
 Aluminium Windows Profiles: Benefits and FeaturesOct-28-2024Aluminium Windows Profiles: Benefits and Features


