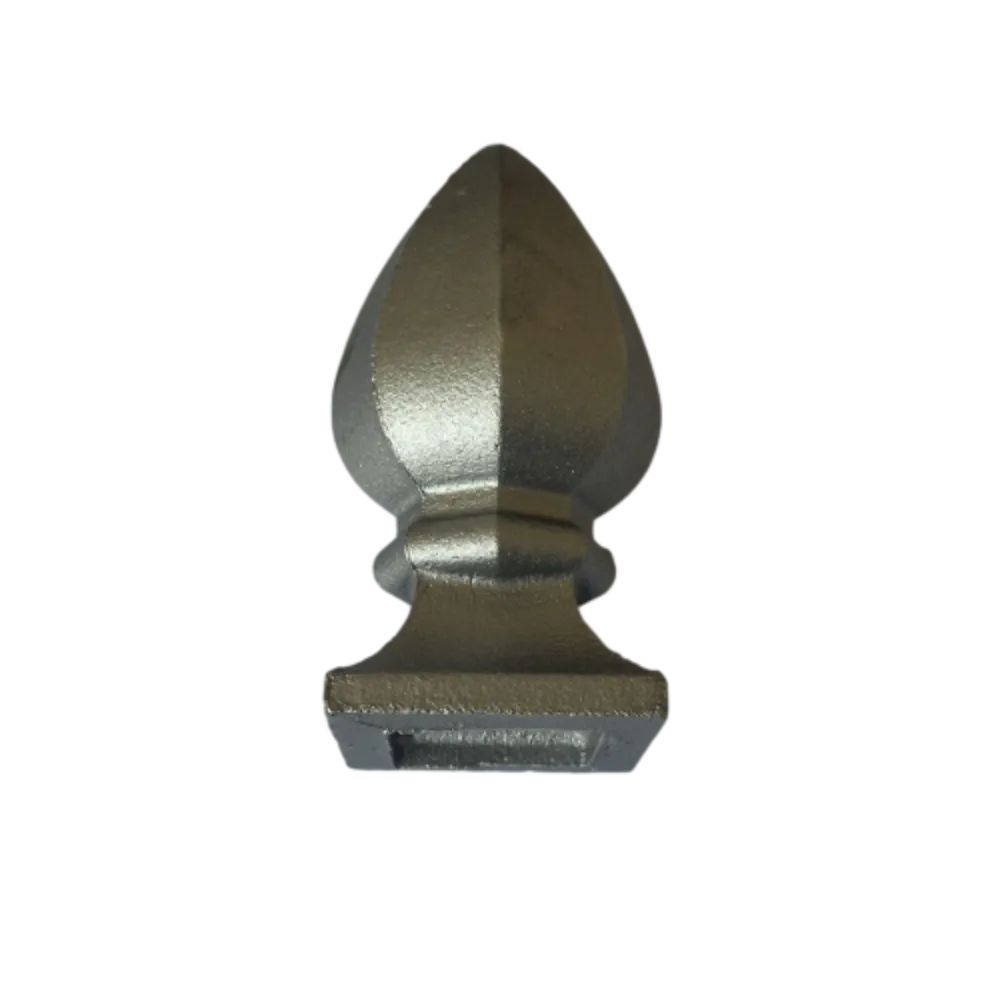
replacing sliding screen door tension roller
Replacing the Tension Roller on Your Sliding Screen Door
Sliding screen doors are a great addition to any home, providing ventilation without allowing insects inside. However, like any other component of your home, they are subject to wear and tear over time. One common issue that homeowners face is a malfunctioning tension roller, which is crucial for the smooth operation of your sliding screen door. In this article, we will provide you with a step-by-step guide on how to replace the tension roller on your sliding screen door, ensuring it operates like new.
Understanding the Tension Roller
Before diving into the replacement process, let's understand what a tension roller is and its role. The tension roller is a small wheel that helps the screen door move smoothly along its track. It is designed to bear the weight of the door while allowing it to glide with minimal effort. Over time, these rollers can become worn out or damaged, resulting in a screen door that is difficult to open or close. If you notice that your sliding screen door is not operating smoothly, it may be time to replace the tension roller.
Tools and Materials Needed
Before starting the replacement process, it’s essential to gather the necessary tools and materials
- New tension roller (make sure it’s the correct size for your door) - Screwdriver (typically a Phillips head or flathead, depending on your door) - Utility knife - Lubricant (optional) - Cleaning cloth
Step-by-Step Replacement Process
1. Remove the Screen Door The first step is to take the screen door off its track. To do this, locate the adjustment screws on the bottom of the door. If your door has a handle, you may need to remove it to access the screws. Loosen these screws with your screwdriver, and then tilt the door inward at the top to lift it off the bottom track.
replacing sliding screen door tension roller

2. Inspect the Current Rollers With the door removed, take a close look at the existing tension rollers. If they appear worn or damaged (cracked, flat, or discolored), it’s definitely time for a replacement.
3. Remove the Old Rollers Most tension rollers are held in place by screws. Using your screwdriver, remove these screws and lift the old rollers out of their housing. Be careful during this step so you don’t damage the screen door frame.
4. Install the New Rollers Take the new tension rollers and position them in the same spot where the old ones were. Secure them in place with the screws you removed earlier. Make sure to tighten them adequately but avoid overtightening, as this may cause damage.
5. Re-hang the Screen Door Once the new rollers are securely in place, it’s time to re-hang the screen door. Start by positioning the top of the door back into the upper track. Once it is sitting correctly, lower the bottom of the door into the bottom track and make any necessary adjustments.
6. Adjust the Rollers Your screen door should now be swinging smoothly, but you may need to make some adjustments to ensure it sits correctly in the frame. If your door has adjustable rollers, you can use the adjustment screws to raise or lower the door until it is flush with the frame and glides smoothly.
7. Testing the Door Before finishing up, take a moment to test the screen door. Open and close it several times to ensure it rolls smoothly and does not catch on the track. If you notice any issues, double-check the installation of the rollers and make further adjustments as necessary.
8. Clean and Lubricate (Optional) Finally, wipe down the tracks and the new rollers with a cloth to remove any debris. Applying a small amount of lubricant can enhance the performance of the rollers and help the door glide more smoothly.
Conclusion
Replacing the tension roller on your sliding screen door is a relatively straightforward process that can significantly improve the functionality of your door. By following these steps, you can enjoy a smoothly operating screen door that enhances your home’s ventilation and keeps bugs at bay. Regular maintenance and timely replacements can extend the life of your screen door, ensuring it remains a valuable addition to your home for years to come.
-
Why Choose TJJ as Your Window and Door Hardware Manufacturer?NewsOct.28,2024
-
The Advantages of Cast Iron Stove Plates: A Timeless Choice for Your KitchenNewsOct.28,2024
-
Aluminium Windows Profiles: Benefits and FeaturesNewsOct.28,2024
-
Innovations in Cast Iron Panel TechnologyNewsOct.28,2024
-
The Benefits of Customizing Your Wrought Iron Fence PartsNewsOct.28,2024
-
The Immortal Legacy of Cast Iron Spears: From War to Decorative UseNewsOct.21,2024
-
 Why Choose TJJ as Your Window and Door Hardware Manufacturer?Oct-28-2024Why Choose TJJ as Your Window and Door Hardware Manufacturer?
 -
 The Advantages of Cast Iron Stove Plates: A Timeless Choice for Your KitchenOct-28-2024The Advantages of Cast Iron Stove Plates: A Timeless Choice for Your Kitchen
 -
 Aluminium Windows Profiles: Benefits and FeaturesOct-28-2024Aluminium Windows Profiles: Benefits and Features


